



A datasheet says “8 mm.” The machine on your floor reliably triggers at half that. Before you blame the sensor or the supplier, read what that “8 mm” actually is. Proximity sensor sensing distance is a measured value with very specific test conditions attached, and almost nothing in a real installation matches those conditions. This guide follows the distance number from datasheet to factory floor. It covers what the number means, what shrinks it, and how to calculate the rating you actually need to order.

What “Sensing Distance” Really Means on a Proximity Sensor Datasheet
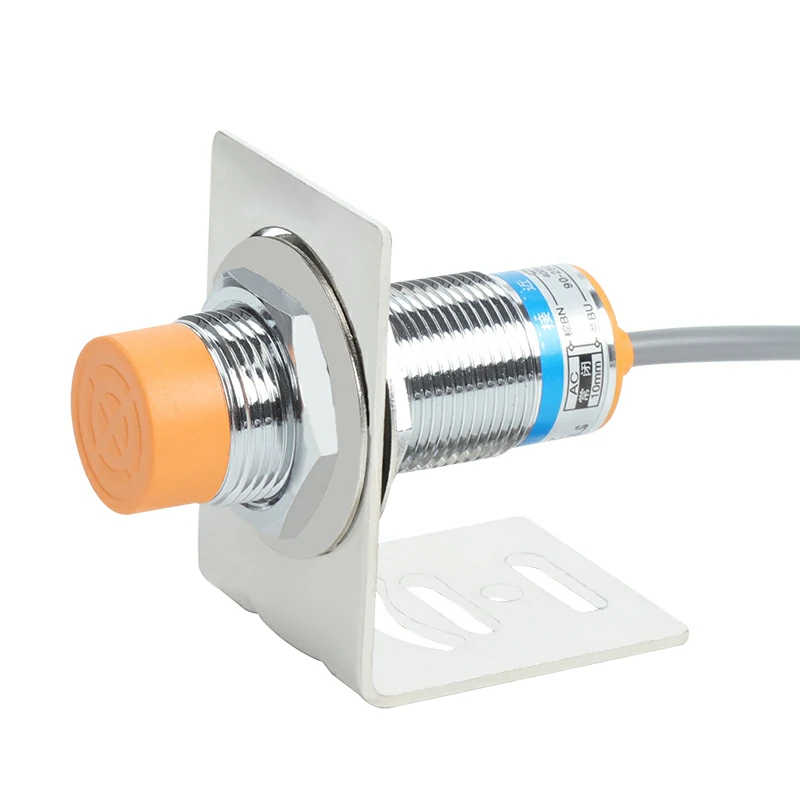
First, scope. This article is about industrial proximity sensors: the cylindrical switches that detect a target without touching it and send an on/off signal. It is not about the proximity sensor in your phone, and not about analog distance-measuring sensors (laser or ultrasonic units that report a measurement over centimeters or meters). Different family, different physics, different numbers. If you are here because a metal part does not trigger your switch reliably, keep reading.
The rated sensing distance (often written Sn, or rated operating distance under IEC 60947-5-2) is the distance at which a proximity switch is guaranteed to respond under its specified test conditions. Everything hinges on those conditions. The standard test target is a square of low-carbon steel (Fe360) 1 mm thick, sized to at least three times Sn or the width of the sensing face, whichever is larger. For an M8 sensor rated 1.5 mm, that is an 8 mm square of plain steel; for an M12 rated 2 mm, a 12 mm square (Pepperl+Fuchs, knowledge base for inductive sensors).
Datasheets distinguish several distances built on top of each other, and only one of them is a promise:
The number in the model name is Sn. The number you should design around is closer to Sa: the assured range. That gap between “rated” and “assured” is where the first 20% of your sensing distance quietly disappears.
How Far Each Proximity Sensor Type Actually Detects
“Proximity sensor” is a technology family, and each member works on different physics with a different distance scale. Before specing anything, place your application on the right ruler:
| Technology | Typical sensing distance | Detects | Notes |
|---|---|---|---|
| Inductive | ~1–15 mm rated (standard cylindrical types) | Metals only | Distance drops sharply on non-ferrous targets (next section) |
| Capacitive | Roughly mm-range, comparable to inductive | Metals and non-metals (plastics, liquids, powders) | Distance depends on the target’s dielectric constant |
| Magnetic (Hall/reed) | mm to tens of mm | Ferromagnetic targets | Immune to non-ferrous materials; needs magnetic target or magnet |
| Photoelectric (diffuse) | Centimeters, some to meters | Almost any material | Light-based; affected by color, gloss, contamination |
| Ultrasonic | Tens of cm to several meters | Solids and liquids | Sound-based; affected by temperature and soft surfaces |
Two take-aways. Inductive sensors, the most common cylindrical proximity switch, live in the millimeter world; expecting centimeters from one is the classic mismatch. And every family’s numbers are typical catalogue magnitudes, not promises: within inductive sensors alone, an unshielded (non-flush) M30-class unit can be rated several times farther than a shielded (flush) M8. If a machine calls for a genuinely long sensing distance on metal, that is what “long-distance” inductive, magnetic, or photoelectric models exist for.
Why Real Detection Distance Runs Short: Five Derating Factors
Here is the field pattern every maintenance engineer eventually meets: the datasheet says 8 mm, the reliable detection distance on the machine is about 4 mm. One manufacturer’s commissioning notes call this the single most common complaint about inductive sensors, and it is usually not a defect (Bedook sensor guide, “Understanding sensing distance in inductive proximity sensors,” June 2026). The causes are five factors, and they multiply, not add.
Target material and size: the biggest multipliers
Inductive sensing works by eddy currents in the target. The standard test target is plain low-carbon steel: the best possible target. Everything else pays a penalty. Manufacturer correction factors differ slightly because the factor depends on the sensor’s oscillator design, but the published tables agree closely:
| Target material | Correction factor (× rated distance) |
|---|---|
| Steel (Fe360), the test standard | 1.0 |
| Stainless steel | ≈0.85 (one major table); 0.6–1.0 (another) |
| Aluminum | 0.30–0.45 |
| Brass | 0.35–0.50 |
| Copper | 0.25–0.45 |
The stainless row hides a trap worth knowing: ferritic stainless (magnetic, e.g., 400-series) behaves close to plain steel. Austenitic stainless such as 304, which is non-magnetic, sits at the low end of that 0.6–1.0 range. Field sources put austenitic grades at 30–70% of the steel-rated distance (Balluff, “Inductive proximity sensor targets — material does matter”; Pepperl+Fuchs reduction factor table). If you are detecting stainless, ask which grade before you promise a distance.
Target size matters the same way. The test target is a plate at least as wide as the sensing face; real targets are gear teeth, screws, pins and hose clamps. Cut the target area in half and you can lose roughly 40–50% of the rated distance. Making the target larger than the standard plate buys nothing. The field saturates.
Flush vs. non-flush mounting
A flush (shielded) sensor sits level with surrounding metal; the metal around it suppresses the sensing field. Mounted correctly, flush styles typically lose another 15–30% of usable reach versus their open-field potential. Non-flush (unshielded) versions of the same body diameter are rated longer to begin with, which is why you will see both a “2 mm” and a “4 mm” M12 in the same catalogue family. “Flush is safer mechanically” is true; “flush costs you distance” is the part installers forget until the trigger point misses.
Temperature, supply voltage and electrical noise
The rated distance is measured at 23 ± 5 °C at rated voltage. Outside that window the electronics drift: field guidance puts the loss at roughly 10–20% above 60 °C, with a slower response below −10 °C as well. Voltage within ±10% of rating is a precondition of the test, not a safety margin. And electromagnetic noise (variable-frequency drives, welding, high-power motors) can cost more than 30% of effective distance in severe cases, plus intermittent false triggers.
The multiplication is the part that surprises people. An aluminum target (×0.4) on a flush sensor in a warm enclosure (×0.8) near a VFD (×0.9) does not lose 30%: it keeps roughly 0.4 × 0.8 × 0.9 ≈ 29% of the rated number. The 8 mm sensor just became a 2.3 mm sensor, and it was never defective.
Factor tables are typical values, not per-model promises: they vary with oscillator design. When you buy, ask for the correction data for the exact model and the test conditions behind its rated distance.
Choosing the Right Sensing Distance, Step by Step
Selection is the derating chain run backwards: start from the distance the application truly needs, divide by the target factor, then leave operating margin.
The margin rule
Install at 60–70% of the rated sensing distance. That zone is where the switch point actually lives.
Inside this zone the signal is strong and the switch point repeatable. At the rated edge, temperature shifts and vibration cause intermittent switching.
Rated distance is a reference value. The 60–70% zone is the design number.
The three-step back-calculation
- State the real requirement. The distance the target actually travels / the gap you can physically maintain, not the number a colleague “thinks the machine needs.”
- Divide by the target’s correction factor. Steel ÷1.0; aluminum ÷0.4 (use the conservative end of the range); austenitic stainless ÷0.6 or worse.
- Divide by 0.60–0.70 for margin, then round up to the nearest catalogue step.
Worked example: a steel flag must trigger reliably at 6 mm. Step 2 is 6 ÷ 1.0 = 6; step 3 is 6 ÷ 0.65 ≈ 9.2 mm rated. An M18 rated 8 mm will sit on the ragged edge. The honest order is that M18’s longer non-flush sibling or an M30 rated 10–15 mm. Same arithmetic explains the classic dealer conversation: aluminum target, “about 8 mm” needed → 8 ÷ 0.4 ÷ 0.65 ≈ 31 mm rated, which no standard M30 inductive delivers. The correct answer is an extended-range or factor-1 (universal) model, a magnetic or photoelectric alternative, or a re-engineered mounting gap. Back-calculation exists to tell you “this class of sensor cannot do it” before you ship, not after.
The back-calculation
Real requirement (mm)
÷ target correction factor (steel 1.0 / stainless 0.6–1.0 / aluminum 0.3–0.45 / copper 0.25–0.45)
÷ 0.60–0.70 margin
Round up to the nearest catalogue rating
Housing size and the rating ladder
Rated distance is tied to body diameter, because the coil is tied to body diameter. Standard catalogue steps for shielded cylindrical types cluster around: M8 ≈ 1–2 mm, M12 ≈ 2–4 mm, M18 ≈ 5–8 mm, M30 ≈ 10–15 mm; non-flush and extended-range versions reach further at every size. Most manufacturers encode the rated distance into the model suffix (…-1.5, …-4, …-8, …-15), so a catalogue can be read like a ladder: same body, higher suffix = longer reach, bigger body = longer reach. If the back-calculation lands above the ladder for the space you have, the answer is non-flush, extended-range/factor-1, or a different technology from the map in section 2, not a “special” sensor.
The boundary: longer is not better
Resist the reflex to buy the longest-rated sensor that fits. Inductive sensors have a weak-signal boundary region near the rated limit where noise immunity drops: a 15 mm-rated unit that is rock-solid at 10 mm can switch intermittently at 14 mm as temperature drifts. Repeatability, triggering at the same point on every cycle, is what machines actually need, and repeatability lives inside the 60–70% zone. If the back-calculation leaves less margin than that, step up one rating class rather than running the existing one at its edge.
Buying Specs You Can Trust: What to Ask a Supplier
Two sensors both labelled “8 mm” can sit at very different prices. The premium buys what surrounds the number: stated test conditions, per-model correction data, and documentation that matches the hardware. When you compare suppliers, treat the spec sheet as the product. Walk away from any quote that cannot answer:
What to ask
Ask for the standard test target behind the rated distance (material, thickness, plate size)
Ask what tolerance band the rated value carries (±10% is common)
Ask how the model suffix encodes the rated distance
Ask whether correction factors for aluminum / copper / stainless are published for the exact model
Ask whether flush and non-flush versions exist at the same body size
Ask what documentation ships with the order (test report, certs, wiring data)
A supplier who answers from a datasheet is quoting you a specification. A supplier who answers from memory is quoting you a hope.
Field Fixes: When Detection Goes Intermittent
The sensor that “used to work” and now misses triggers is usually not the sensor. Diagnosis runs from the target outward, and only the last step blames the switch:
- Target consistency. Has the target changed: a different material grade, a smaller area, wear, a bent flag? A printing press once lost one of two identical-looking targets; the fix was remaking the target flags, not replacing the sensor. Detection volume is roughly tulip-shaped, and a small change in target area shifts the side-detection point far more than intuition suggests. A 0.5 mm gap change can move the lateral trigger point by a millimeter.
- Gap and mounting. Vibration loosens brackets and creeps the gap past the trigger point. Re-check the installed gap against the original setting, not against the datasheet.
- Environment. New VFD, welder, hot enclosure, metal dust? Any of these derates the effective distance silently (the numbers are in the derating section above).
- The sensor itself — last. Test it against a proper standard target: a clean, flat, generous piece of plain steel. If it triggers at roughly its rated distance on steel, the sensor is fine and the application is the problem.
Two habits make this worse. Padding the gap with a metal plate (a real workaround seen on production lines) masks the loss and sets up the next failure. And running a sensor at the edge of its rated range because “it almost works” guarantees the intermittent callouts continue. If mechanical adjustment space is truly exhausted, the fix is the same-diameter, higher-rated sibling from the selection section: same thread, same wiring, more margin.
Stocking and Quoting Sensing Distance: A Dealer’s Playbook
For distributors, the derating chain is a returns problem in disguise. Most “sensing distance too short” complaints are not defective goods. They are an ordering mismatch: the customer said “8 mm,” meaning their real requirement on their real target, and the order went out against the rated number. The fix is one question and one calculation at the quote stage.
Ask the target material first. Then run the back-calculation before you quote, and say it out loud: “On aluminum you need a sensor rated about 30 mm to get 8 mm reliably, so here is the closest step we carry.” Pricing the correct rating up front costs you nothing; shipping the wrong one costs a return, a credit, and a customer who now doubts your catalogue.
Stocking follows the same logic. The replacement and retrofit market almost always resolves to the next rating up at the same body size: the old sensor keeps its thread diameter and output type but needs more margin.
Two ratings per body
M18 body
5 mm & 8 mmtwo ratings, one thread
M30 body
10 mm & 15 mmthe retrofit reach step
Same thread diameter, one rating up — that is what retrofit and upgrade calls ask for.
The one-ratings-deep, cheapest-first shelf is exactly the inventory that cannot answer a retrofit call.
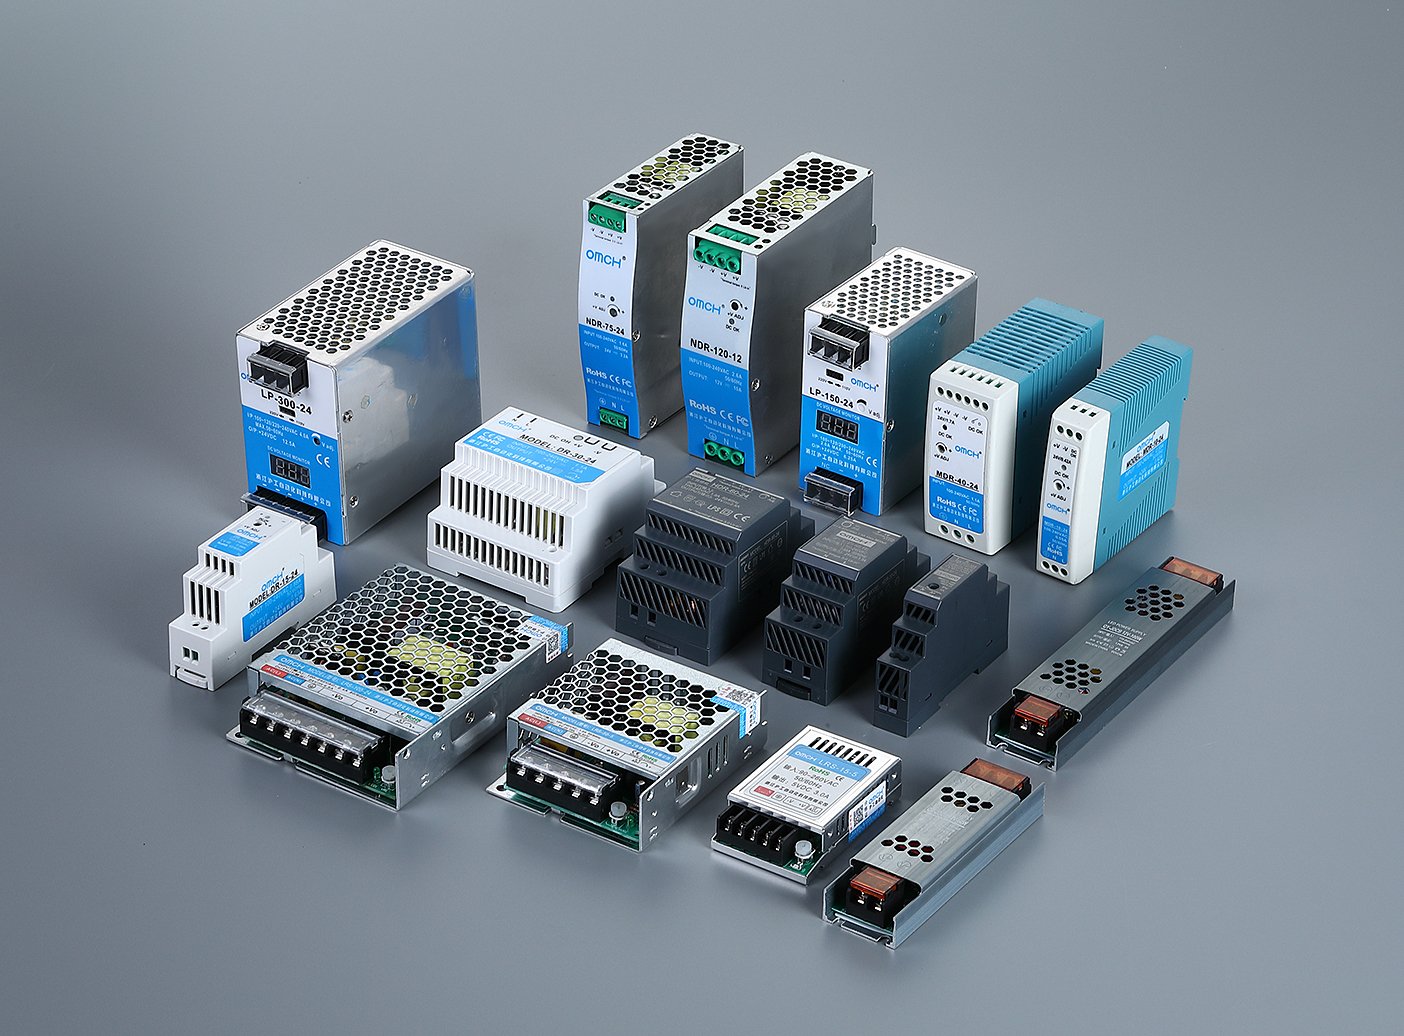
And because distance selection is only the first decision on most orders, the parts that follow it (power supplies, relays, limit switches, the rest of a control cabinet) come from the same quote. That is where one supplier, rather than ten, starts paying for itself.
If you want a catalogue where the sensing distance is readable from the model number, our proximity sensor range lists flush and non-flush inductive series across M8- to M30-class cylindrical bodies, with the rated distance encoded in each model and test conditions stated on the page. We supply 30+ categories and 3,000+ SKUs across the automation catalogue, so the other components on the same order can ship from the same source.
Ask us for the rating that survives the real target
Our proximity sensor range states the rated distance and test conditions per model, with flush and non-flush options across M8- to M30-class bodies — and the other automation parts on the same order can come from the same quote.
Send your sensor specReferences
- Pepperl+Fuchs. “Operating Distance as Central Characteristic — Knowledge Base for Inductive Sensors.” Accessed September 2026. https://www.pepperl-fuchs.com/en-us/support/knowledge-and-literature/knowledge-bases-for-industrial-sensors/knowledge-base-for-inductive-sensors/detection-method-and-function/operating-distance-as-central-characteristic-gp28808
- Balluff (Shawn Day). “Inductive Proximity Sensor Targets — Material Does Matter.” June 18, 2024. https://www.balluff.com/en-us/blog/inductive-proximity-sensor-targets-material-does-matter
- Bedook. “Understanding Sensing Distance in Inductive Proximity Sensors.” June 2026. https://www.bedooksensors.com/inductive-proximity-sensor-sensing-distance/


 English
  Arabic
  Turkish
  Russian
  Spanish
  French
  Indonesian
  Portuguese
  Thai
Thai  Vietnamese