





What Are Electrical Component Symbols and Why Do They Matter?
Open any piece of industrial equipment, any control panel, any automation system — and you will find a schematic diagram. Not a photograph. Not a 3D render. Just lines, shapes, and labels arranged across a page.
These shapes are electrical component symbols: standardized graphical representations that describe what each part of a circuit does without needing a single word of explanation. A resistor is a rectangle — or a zigzag, depending on where you are in the world. A diode is a triangle pointing at a bar. A ground connection is three shrinking horizontal lines.
The reason this system exists is practical, not academic. A design engineer in Stuttgart can produce a schematic that a maintenance technician in Jakarta reads and understands. A procurement officer in Dubai can look at the same drawing and know exactly what components to order — without ever speaking to the designer. Electrical symbols are the universal language of electrical and electronic engineering, governed by two dominant international standards: IEC 60617 (used across Europe, Asia, and most of the world) and IEEE 315 / ANSI Y32.2 (the North American standard).
This guide covers both. But it goes further than a typical symbol reference chart. After you identify what a symbol represents, you still need to know what specifications matter when you buy that component — and how to communicate those specifications to a supplier in a way that gets you an accurate quote. That gap between “I know what this symbol means” and “I know how to order the right part” is where mistakes cost time and money. We will close it.
Quick Reference: The 20 Most Common Electrical Component Symbols
Before diving into the standards and detailed breakdowns, here is a compact reference of the symbols you will encounter most often. Use this as a cheat sheet when reading an unfamiliar drawing. All symbols are labeled with their reference designator letter — the bridge to the bill of materials.
| Component | Ref | IEC 60617 | ANSI/IEEE 315 | Key Identifier |
|---|---|---|---|---|
| Fixed Resistor | R | Plain rectangle | Zigzag line | Most visible IEC/ANSI difference |
| Capacitor (non-polarized) | C | Two parallel lines | Same as IEC | Ceramic/film — install either direction |
| Electrolytic Capacitor | C | One straight + one curved plate (−) | Same as IEC | Curved side = negative terminal |
| Inductor (air-core) | L | Filled bar or narrow rectangle | Series of looped coils | Loops ≠ zigzag |
| Transformer (iron-core) | T | Two coupled rectangles + core lines | Two coupled loop sets + core lines | Core = two parallel lines |
| Diode (rectifier) | D | Triangle pointing into bar | Same as IEC | Triangle = current direction |
| Zener Diode | D | Diode + small wing on cathode bar | Same as IEC | Breakdown voltage regulation |
| LED | D | Diode + two outward arrows | Same as IEC | Arrows = light emission |
| NPN Transistor | Q | Circle + base bar + emitter arrow outward | Same as IEC | Arrow points away from base |
| PNP Transistor | Q | Circle + base bar + emitter arrow inward | Same as IEC | Arrow points toward base |
| MOSFET (N-ch enhancement) | Q | Gate separated from channel + broken line + body diode | Same as IEC | Voltage-controlled switch |
| Battery / DC Source | BT | Long line (+) + short line (−) pairs | Same as IEC | Long = positive |
| AC Source | G | Circle with sine wave (~) | Same as IEC | Mains input indicator |
| Earth Ground | — | Three shrinking horizontal lines | Same as IEC | Safety/protective earth |
| Fuse | F | Rectangle with wire through center | Oval/rectangle with S-curve element | Melts on overcurrent |
| Circuit Breaker | QF | Angled switch contact + cross qualifier | Contact gap with arc symbol | ANSI Device No. 52 for AC breakers |
| Relay (coil + SPST contact) | K | Rectangle coil + dashed line to contact | Same general structure | Coil energizes → contact changes state |
| SPST Switch (NO) | S | Angled break in line (gap = open at rest) | Same as IEC | Simplest on/off switch |
| SPDT Switch | S | One line between two fixed contacts | Same as IEC | Selects one of two paths |
| Operational Amplifier | U | Triangle, two inputs (+/−), one output | Same as IEC | Second most common analog symbol after resistor |
Each reference designator (Ref) follows IEEE 200-1975 / ASME Y14.44 conventions — match the letter code on your drawing to the corresponding line in the bill of materials to get the exact manufacturer part number.
Each reference designator (Ref) follows IEEE 200-1975 / ASME Y14.44 conventions — match the letter code on your drawing to the corresponding line in the bill of materials to get the exact manufacturer part number.
IEC vs. ANSI: The Two Standards Every Component Buyer Should Know
If you have ever looked at two different schematics and wondered why a resistor looks like a rectangle in one drawing and a zigzag line in another, you have encountered the single most important distinction in electrical symbology: the split between IEC and ANSI standards.
The IEC 60617 standard, maintained by the International Electrotechnical Commission, defines approximately 1,900 graphical symbols. It is the default in Europe, Asia, the Middle East, and most emerging markets — including Russia and the CIS countries, Southeast Asia, and South America. IEC symbols lean toward clean geometric abstraction: resistors are plain rectangles, inductors are filled bars, logic gates are simple boxes with function labels.
The ANSI/IEEE 315 standard (also published as ANSI Y32.2) dominates North America and legacy U.S.-designed equipment. Its symbols are more pictorial — resistors are zigzag lines, inductors are looped coils, logic gates have distinctive curved shapes. Japan’s JIS standard aligns closely with IEC conventions. A newer standard, IPC-2612-1, provides rules for creating scalable symbols for high-density modern components and complements both legacy standards.
| Component Type | IEC 60617 | ANSI/IEEE 315 | Primary Regions |
|---|---|---|---|
| Fixed Resistor | Plain rectangle | Zigzag line | IEC: Europe/Asia/Middle East/CIS; ANSI: North America |
| Fixed Inductor (Air-Core) | Filled bar or narrow rectangle | Series of looped coils/humps | Same regional split |
| Polarized Capacitor | One straight + one curved plate | Same general form, curved plate = negative | Universal agreement on polarity marking |
| AND Gate | Rectangle labeled “&” | D-shape with flat left side | IEC: modern/global; ANSI: legacy U.S. designs |
| Fuse | Rectangle with line through center | Oval/rectangle with S-curve element | IEC simpler, ANSI more pictorial |
| Circuit Breaker | Angled switch contact with cross qualifier | Inline square box or contact gap with arc symbol | ANSI uses Device Number 52 for AC breakers |
One rule that prevents costly errors: never mix IEC and ANSI symbols within a single schematic. If you receive a drawing, first check the title block or legend to confirm which standard is in use. A component identified under IEC conventions may look completely different under ANSI — and vice versa. When you are sourcing components for international clients, knowing which standard a drawing uses tells you which markets the equipment was originally designed for, and therefore which certification requirements to expect.
Power Source and Ground Symbols — The Starting Point of Every Circuit
Every circuit starts with power and ends with ground. These symbols are the first things to look for when reading a schematic, and they are mercifully consistent across IEC and ANSI standards.
DC Power Sources. A single battery cell appears as one long line (positive) and one short line (negative) — the longer line always marks the positive terminal. Multiple cell pairs stacked together represent a battery. A DC voltage source may also appear as a circle with a “+” and “−” sign. When you see a battery symbol, look for the adjacent voltage annotation. This is the first specification you will need for procurement.
AC Power Sources. Alternating current sources are shown as a circle containing a sine wave symbol (~). This appears on the input side of power supplies, at the primary winding of transformers, and wherever mains voltage enters a circuit. In industrial schematics, you may see a circle labeled with the nominal voltage and frequency — for example, “380V 50Hz” for three-phase industrial power or “220V 50Hz” for single-phase mains common across Asia, Europe, and the Middle East.
Ground Connections. Not all grounds are the same. Confusing them is a common source of design errors. Three variants appear regularly:
- Earth Ground (protective earth): three shrinking horizontal lines — this is the safety ground, connected to the physical earth via a grounding rod or building ground grid. Its purpose is protection, not signal reference.
- Chassis Ground: shown as a downward-pointing bracket or shaded triangle, connected to the equipment’s metal enclosure. It provides shielding but cannot substitute for earth ground in safety applications.
- Signal Ground (digital/analog common): an open triangle or a distinct ground symbol, serving as the 0V reference point for sensitive circuits. Isolating signal ground from power ground is a fundamental noise-reduction technique.
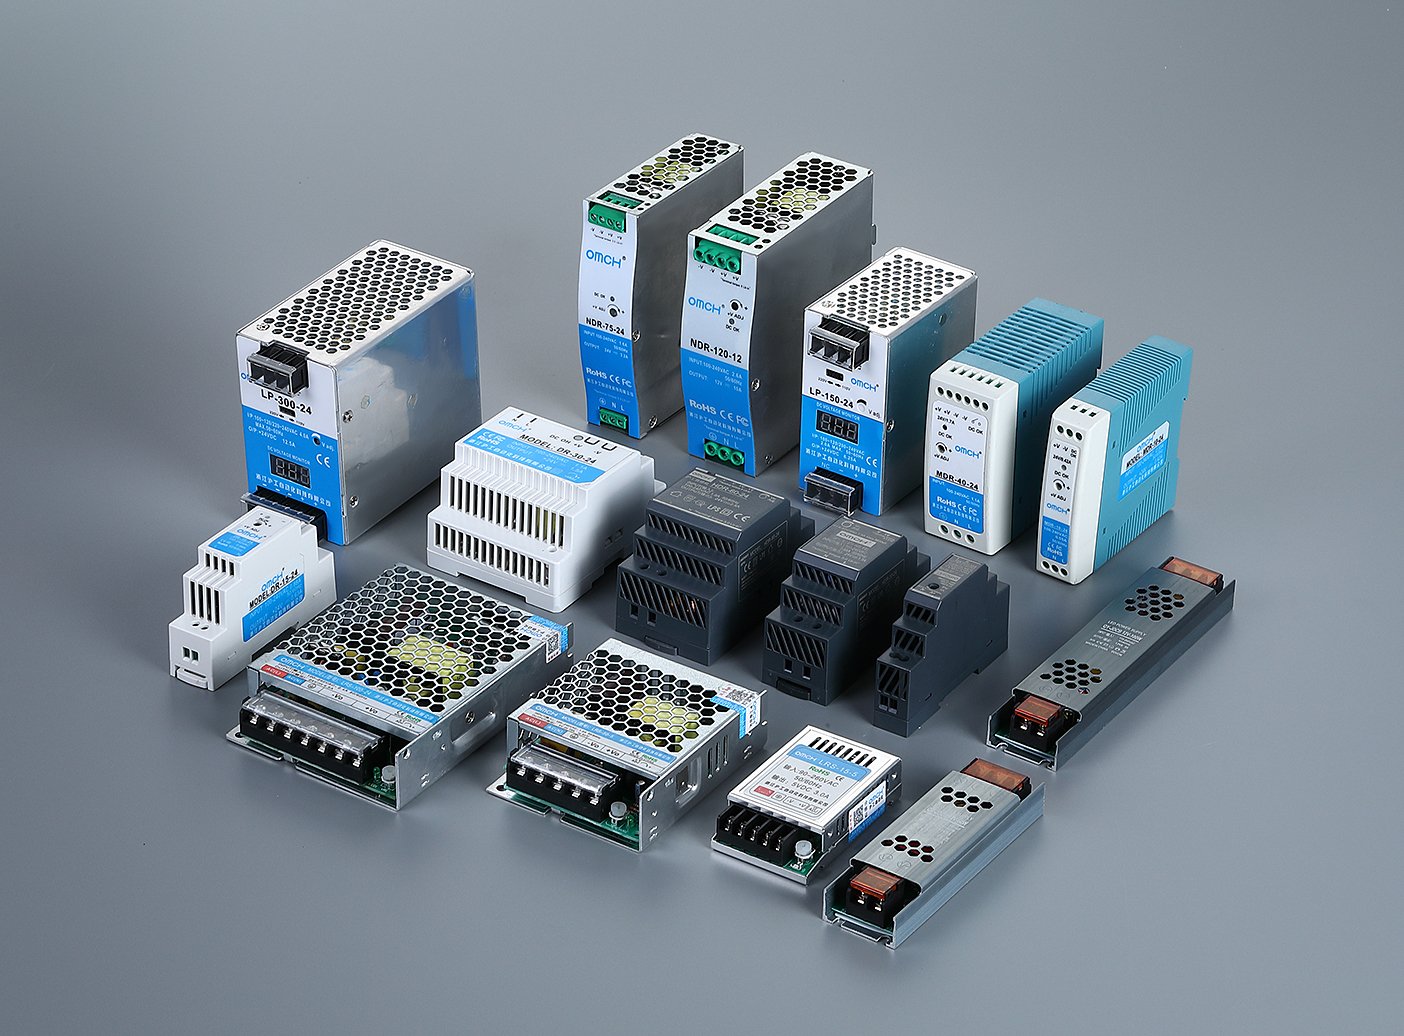
For a procurement professional, the practical takeaway is simple: a ground symbol tells you about circuit topology, not about a component you need to buy. But if you are specifying power supplies for equipment destined for markets with different mains standards — 110V/60Hz for North America versus 220V/50Hz for most of Asia and Europe — the AC source symbol next to the mains input is your cue to verify the power supply’s input voltage range before placing an order.
Passive Component Symbols — Resistors, Capacitors, and Inductors
Passive components do not amplify or switch signals — they resist, store, and filter. They are also the most frequently occurring components in any schematic. If you can read the symbols in this section, you can identify 60–70% of the parts on a typical industrial control drawing.
Before diving into each component type, here is the core decoding rule: look at the symbol’s shape first (tells you the component type and which standard is in use), then look for modifier marks (an arrow through the symbol means it is adjustable; a curved plate means polarity; a “t°” mark means temperature-dependent), then read the adjacent text annotation (resistance value, capacitance, inductance, and the reference designator like R12 or C5). This three-step scan — shape → modifiers → text — is the fastest way to decode any component on a schematic.
Resistor Symbols — Fixed, Variable, and Special Types
Resistors are the most common component in any electrical schematic. They oppose current flow, divide voltages, and set operating points for active devices — and their symbol is the most visible battleground of the IEC/ANSI divide.
Fixed Resistors. Under IEC 60617, a fixed resistor is a plain rectangle. Under ANSI/IEEE 315, it is a zigzag line. Both symbols mean exactly the same thing electrically. The difference is purely a regional drawing convention — but if you are reading a drawing for procurement purposes, knowing which standard it follows tells you where the equipment was likely designed and built.
Variable Resistors and Potentiometers. A diagonal arrow crossing the resistor symbol means adjustability. If the arrow touches the resistor body at its midpoint (or at a separate third terminal), it is a potentiometer — a three-terminal voltage divider used for control inputs, volume knobs, and calibration adjustments. If the arrow contacts only one end, it is a rheostat — a two-terminal variable resistor used for current control, such as dimming lamps or controlling motor speed.
Special Resistor Types. Some resistors change their value in response to physical conditions, and their symbols carry dedicated modifier marks to signal this. A thermistor (temperature-dependent resistor) is marked with “t°” next to the symbol — look for “+t°” (PTC, resistance increases with temperature, used for overcurrent protection) versus “−t°” (NTC, resistance decreases with temperature, used for inrush current limiting). A photoresistor or LDR (light-dependent resistor) has arrows pointing toward the resistor body. A varistor (MOV, metal-oxide varistor) carries a “U” mark, indicating voltage-dependent resistance. These are surge protection devices and appear at the AC input of power supplies.
Procurement Specifications. When you identify a resistor on a drawing and need to source it, the symbol alone tells you the function, not the part. The adjacent text annotation provides the critical buying parameters: resistance value (Ω, kΩ, or MΩ), power rating (W), tolerance (±%), and package type (through-hole axial, or SMD sizes like 0805, 0603, 0402). A resistor marked “R12 10kΩ 1/4W ±1% 0805” on a schematic gives you everything you need to place an order — provided you also confirm the quantity from the BOM.
Capacitor Symbols — Polarized, Non-Polarized, and Variable
Capacitors store and release electrical charge. Their symbols are deceptively simple — two parallel plates — but the subtleties in how those plates are drawn determine whether you can install the component in either direction or must observe strict polarity.
Non-Polarized Capacitors. Two identical parallel lines represent a capacitor that works regardless of which way you connect it. This covers ceramic capacitors, film capacitors, and most small-value signal capacitors. IEC and ANSI representations are identical for this type — one of the few areas where the two standards fully agree.
Polarized Capacitors (Electrolytic). When one of the two plates is drawn as a curved line, the capacitor is polarized: the curved side is the negative terminal. Installing an electrolytic capacitor backward will destroy it — sometimes violently. This is the single most common assembly error in electronics manufacturing. On a schematic, the positive terminal may also be explicitly marked with a “+” sign. For tantalum capacitors (a subtype of electrolytic with superior stability), the symbol is the same but the component itself usually has a “+” marking on the positive side rather than a “−” marking on the negative side — a discrepancy that has caused countless assembly mix-ups.
Variable Capacitors. An arrow crossing through the parallel plates indicates a capacitor whose value can be adjusted, typically by changing the physical overlap of the plates. These appear primarily in tuning circuits — radio receivers, RF test equipment — and are rarely encountered in industrial automation contexts.
Procurement Specifications. For electrolytic capacitors, the must-confirm parameters are: capacitance (µF or F), rated voltage (V DC), operating temperature range (critical — high-temperature environments dramatically shorten electrolytic capacitor life), and ESR or equivalent series resistance for switch-mode power supply applications. For ceramic capacitors, add the dielectric type (X7R, NP0/C0G, Y5V). Different dielectrics have completely different temperature and voltage stability characteristics. Substituting one for another can cause circuit malfunction even if the capacitance value matches.
Inductor and Transformer Symbols
Inductors store energy in magnetic fields. Their symbols are coils and loops — or under IEC conventions, deceptively simple rectangles. The key visual cue that separates a basic inductor from a power-handling transformer is the presence or absence of a core marking.
Air-Core Inductors. Under IEC 60617, an air-core inductor is a narrow filled rectangle or solid bar. Under ANSI, it is a series of looped semicircles or “humps.” The air-core designation means no magnetic core material — these inductors appear in high-frequency signal and RF circuits where a ferrite or iron core would introduce unacceptable losses.
Iron-Core Inductors and Transformers. Two parallel lines drawn alongside or through the inductor/coil symbol represent a magnetic core — typically laminated iron for power-frequency applications or ferrite for higher-frequency switching supplies. When two coils share a core (shown as two inductor symbols with core lines connecting them), you are looking at a transformer. The coil with more turns (or the one connected to the input) is the primary winding; the other is the secondary.
Pay special attention to current transformers (CTs). These have dedicated symbols distinct from power transformers. A CT steps down high current to a measurable low current for metering and protection relays. They appear frequently in low-voltage distribution drawings — motor control centers, switchgear, power monitoring — and have their own IEC and ANSI symbol variants. If you see a transformer symbol on a power distribution drawing with a ratio annotation like “100/5A,” it is almost certainly a CT.
Procurement Specifications. For inductors: inductance value (µH, mH), rated current (A), DC resistance or DCR (Ω), and shielding (shielded vs. unshielded — critical for EMI compliance). For transformers: primary and secondary voltage ratings, power capacity (VA), and frequency range. A critical distinction: power-frequency transformers (50/60 Hz, laminated iron core) and high-frequency transformers (switch-mode power supplies, ferrite core) share similar schematic symbols but are completely different components. Ordering one when you need the other gives you a part that either overheats and fails or simply does not work.
Switch, Relay, and Protective Device Symbols
The symbols in this section control power flow — they connect, disconnect, and protect circuits. In an industrial context, these are the components that maintenance technicians interact with daily and that procurement teams reorder most frequently. This is also where the gap between basic electronics tutorials (which cover toggle switches) and real industrial documentation (which covers limit switches, contactors, and circuit breakers) becomes widest.
Basic Switch Configurations. Every switch symbol is built from a common vocabulary: a line that can make or break contact with a fixed point. SPST (Single Pole Single Throw) is the simplest — one circuit, on or off. SPDT (Single Pole Double Throw) has one input and two possible outputs — the switch selects which path is active. DPDT (Double Pole Double Throw) is two SPDT switches mechanically linked — used for reversing motor direction or switching both the line and neutral of an AC circuit simultaneously. Push-button switches add a spring-return mechanism: normally open (NO) contacts close when pressed, normally closed (NC) contacts open when pressed. On a schematic, the difference between NO and NC is drawn into the contact position at rest — a gap means NO (circuit is open until you press), a touching contact means NC (circuit is closed until you press).
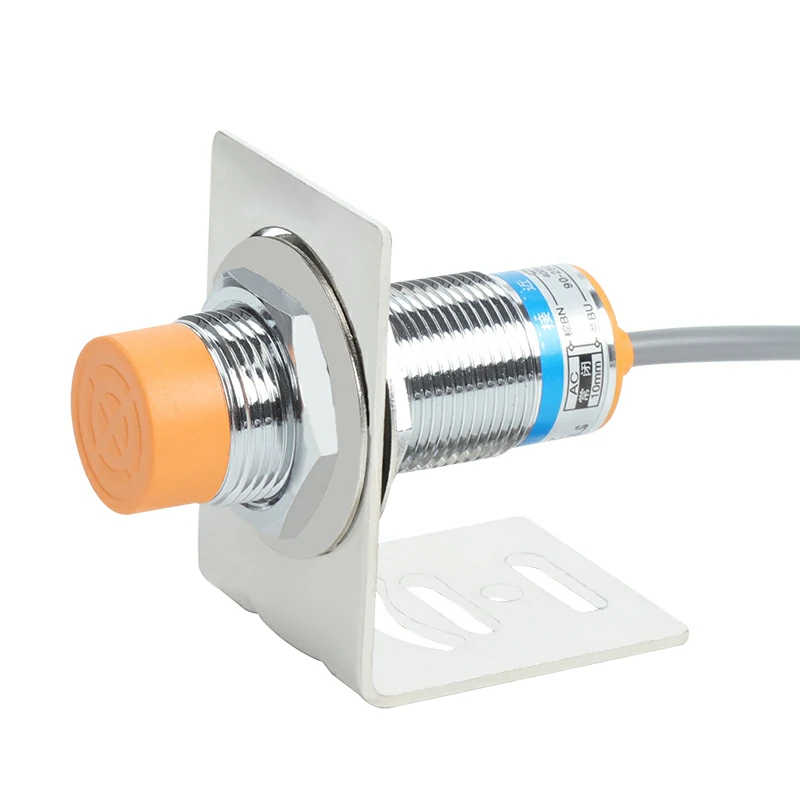
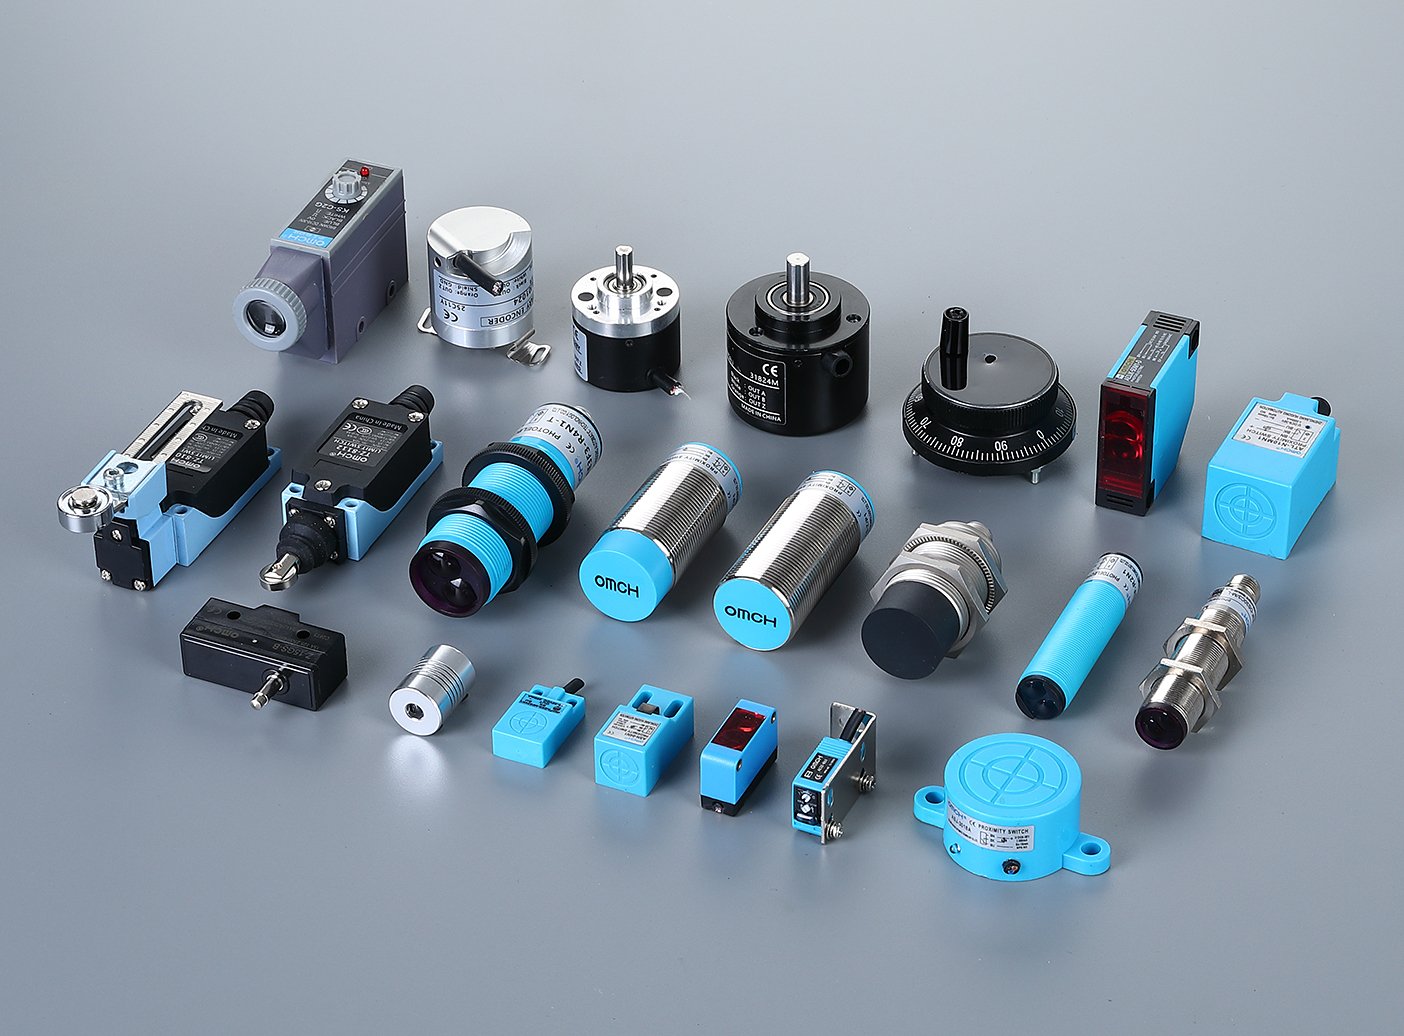
Industrial Control Switches. This is where industrial automation diverges from hobbyist electronics. Limit switches detect physical position — when a machine part reaches the end of its travel, it triggers a limit switch, signaling the controller to stop the motor. In IEC schematics, limit switches use distinctive contact symbols that differ from generic switch contacts. Micro switches are miniature snap-action switches with very short actuation travel — they sit inside countless consumer and industrial products, from microwave door interlocks to CNC machine home-position sensors. Proximity switches (inductive, capacitive, magnetic) detect objects without physical contact and have their own IEC symbol variants, often incorporating a diamond shape or a dedicated sensor block symbol.
The procurement point is critical: a switch symbol tells you the switching function (SPDT, NO, NC) but not the physical specifications. For a limit switch, you must also specify the contact form (NO/NC/changeover), actuator type (roller lever, plunger, rod), housing material and IP rating (IP65 for dusty and wet environments, IP67 for washdown), and cable entry. The symbol on the drawing gives you the functional requirement. The missing pieces — actuator type, housing, IP rating — come from the application context, not the schematic.
Relays and Contactors. A relay symbol combines two elements: a coil (rectangle or curved shape) and one or more switch contacts (drawn as SPST/SPDT contacts with a dashed line connecting them to the coil). When the coil is energized, the contacts change state. Relays handle control signals (low current); contactors are heavy-duty relays designed to switch motor and heater loads (high current). The schematic symbols are structurally similar, but contactors typically have three or four main poles plus auxiliary contacts, and appear in power circuit drawings rather than control circuit drawings.
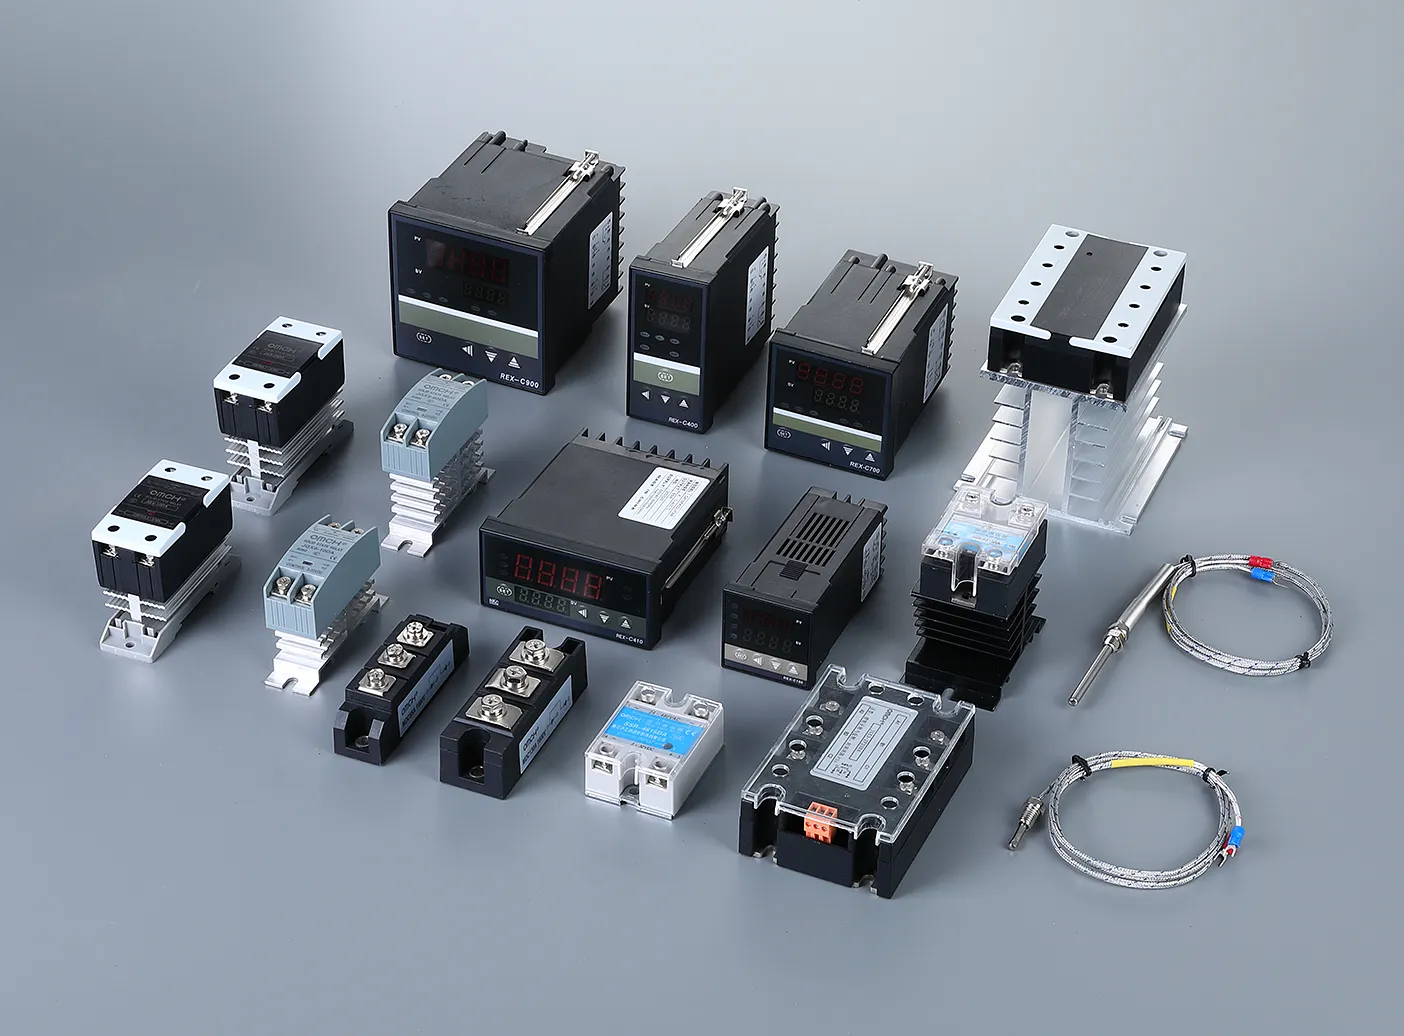
Protective Devices. Fuses (a rectangle or oval with a wire element through the center) and circuit breakers (a switch-like symbol with protective qualifiers) are designed to interrupt fault currents before they damage equipment or cause fires. In ANSI single-line diagrams, circuit breakers are often identified by their device function number — “52” for an AC power circuit breaker. A thermal overload relay (shown as two connected heater arcs in ANSI, or a box with indicator in IEC) protects motors from sustained overcurrent and is always paired with a contactor in motor starter circuits.
Semiconductor and Active Component Symbols
Semiconductors made modern electronics possible — they amplify, switch, regulate, and process signals. Their symbols share a common visual language: a triangle indicates the direction of conventional current flow (from positive to negative), and modifier marks around that triangle define the specific device type.
Before exploring the specific device families, here is the universal decoder for semiconductor symbols: the triangle always points in the direction of forward current (P-type to N-type). A circle around the device means it is a discrete packaged component. No circle, or the device drawn inside a larger functional block, means it is part of an integrated circuit. Every additional mark — inward arrows, outward arrows, a bent cathode bar, a small wing — tells you what makes this particular semiconductor different from the basic diode.
Diode Family Symbols — Rectifier, Zener, LED, and More
The diode is the fundamental semiconductor building block: current flows freely in one direction and is blocked in the other. A triangle pointing into a flat bar equals a standard rectifier diode. The triangle points in the direction of permitted current flow (anode → cathode).
Zener Diodes. The cathode bar is modified with a small bent hook or “wing” — this signals that the diode is designed to operate in reverse breakdown, maintaining a precise voltage across its terminals. Zener diodes are voltage references and overvoltage protectors, not rectifiers. The procurement-critical parameter is the Zener voltage (Vz), which ranges from about 2.4V to over 200V.
Light-Emitting Diodes (LEDs). Two outward-pointing arrows radiating from the diode symbol mean it emits light when forward-biased. The procurement specifications for LEDs go beyond the basic forward voltage and current: you also need wavelength or color temperature (for white LEDs), viewing angle (in degrees), luminous intensity (mcd), and package dimensions.
Photodiodes. Inward-pointing arrows toward the diode junction mean it detects light. These are used in optical sensors, light curtains, and fiber-optic receivers — all common in industrial automation.
Bridge Rectifiers. Four diodes arranged in a diamond pattern form a full-wave bridge rectifier — the most common way to convert AC to DC in power supplies. The symbol appears as a diamond with AC input terminals on two opposite corners and DC output (+ and −) on the other two. Procurement parameters: maximum repetitive reverse voltage (Vrrm) and average forward current (If). The bridge rectifier handles the full load current of the power supply, so its current rating must exceed the supply’s maximum output current with margin.
A less obvious purchasing consideration: not all diodes with the same schematic symbol are interchangeable. A Schottky diode (fast switching, low forward voltage drop) shares the same symbol as a standard silicon rectifier diode. Substituting one for the other in the wrong circuit causes either overheating or malfunction. The schematic should annotate the diode with a part number or specify “Schottky” if the distinction matters. But in older or less detailed drawings, this information may be absent — and the procurement person must understand the circuit context to make the right call.
Transistor and MOSFET Symbols — The Building Blocks of Control
Transistors and MOSFETs are the active switches and amplifiers at the heart of every electronic control circuit. If diodes are one-way valves, transistors are proportional valves: a small signal controls a much larger current.
Bipolar Junction Transistors (BJTs). NPN and PNP transistors are distinguished by a single critical feature: the direction of the arrow on the emitter terminal. For NPN, the arrow points outward (the mnemonic: NPN = arrow points away from the base). For PNP, the arrow points inward toward the base. The arrow direction indicates conventional current flow through the emitter. Procurement parameters for BJTs: collector-emitter breakdown voltage (Vceo), maximum collector current (Ic), DC current gain (hFE), and package type.
MOSFETs. The Metal-Oxide-Semiconductor Field-Effect Transistor has largely replaced the BJT in power switching applications. The symbol shows three terminals — Gate, Drain, and Source — with the Gate drawn as a separate plate separated from the channel by a gap (representing the insulated gate structure). A built-in body diode between Source and Drain is an intrinsic part of the MOSFET structure and appears on the symbol. Enhancement-mode MOSFETs (the default for power applications) show a broken channel line; depletion-mode MOSFETs (less common) show a solid channel line.
MOSFET procurement is dominated by two parameters: drain-source breakdown voltage (Vdss) and on-resistance (Rds(on)). Rds(on) directly determines conduction losses — every milliohm matters in high-current applications. A third parameter, gate threshold voltage (Vgs(th)), determines whether a 3.3V microcontroller or a 5V logic signal can directly drive the MOSFET gate, or whether a gate driver circuit is required.
The materials frontier: GaN (Gallium Nitride) and SiC (Silicon Carbide) power semiconductors share the same schematic symbol as traditional silicon MOSFETs but offer dramatically higher switching speeds and voltage ratings. If you are sourcing replacement semiconductors for high-efficiency power supplies, EV chargers, or solar inverters, verify whether the original part uses GaN or SiC. A silicon MOSFET with the same voltage and current ratings will not deliver the same performance.
Integrated Circuit and Logic Gate Symbols
Integrated circuits (ICs) appear on schematics not as transistor-level detail but as functional blocks — rectangles with pin numbers and a part number or function label. The operational amplifier (op-amp) deserves special mention: it is drawn as a triangle (like a single-ended amplifier) with two inputs — inverting (−) and non-inverting (+) — and one output. This triangle is the second most common symbol in analog circuit diagrams, after the resistor.
Logic Gates. Digital circuits use logic gate symbols, and here the IEC/ANSI divide resurfaces. Under IEC 60617, logic gates are plain rectangles with function-defining labels: “&” for AND, “≥1” for OR, “=1” for XOR, “1” for a buffer. A small bubble on an input or output indicates logical inversion (negation). Under ANSI/IEEE, gates have distinctive shapes.
| Gate | IEC 60617 | ANSI/IEEE 315 | Truth Table Summary |
|---|---|---|---|
| AND | Rectangle labeled “&” | D-shape, flat left | Output HIGH only when all inputs HIGH |
| OR | Rectangle labeled “≥1” | Curved input, pointed output | Output HIGH when any input HIGH |
| NOT (Inverter) | Rectangle “1” + output bubble | Triangle + output bubble | Output = inverted input |
| NAND | Rectangle “&” + output bubble | AND shape + output bubble | AND followed by NOT |
| NOR | Rectangle “≥1” + output bubble | OR shape + output bubble | OR followed by NOT |
| XOR | Rectangle “=1” | OR shape + extra curved input | Output HIGH when inputs differ |
For procurement, ICs are the easiest components to source from a schematic: the drawing almost always includes a specific part number (like 74HC00, ATmega328P, LM358) next to the IC symbol. The purchasing decision then comes down to confirming the package type (DIP for through-hole, SOIC/QFP/BGA for surface-mount) and the temperature grade (commercial 0–70°C, industrial −40 to +85°C, automotive −40 to +125°C). Using a commercial-grade IC in an industrial enclosure that reaches 65°C in summer is a recipe for intermittent failures that are notoriously difficult to diagnose.
From Symbol to Supplier — How to Identify and Source Components from Electrical Drawings
This section addresses the gap that no other electrical symbols guide covers: after you have learned what every symbol means, what do you actually do with that knowledge when you need to buy the parts?
The workflow is three steps: decode the symbol to identify the component type, translate the drawing annotations into procurement specifications, and communicate those specifications to a supplier in a format that generates accurate, comparable quotes.
The framework for everything that follows is: Decode → Specify → Source. Decode turns a symbol into a component category. Specify turns component category plus drawing annotations into a shopping list of measurable parameters. Source turns that list into a supplier-ready RFQ. Each step builds on the previous one. Skip a step — especially Specify — and you get the wrong part.
Step 1 — Read the Symbol and Determine What to Buy
The first step is methodical but mechanical once you know the rules. Here is the five-point procedure for decoding any component from a schematic:
- Identify the symbol body. Is it a rectangle (resistor, IEC), zigzag (resistor, ANSI), two parallel lines (capacitor), coil shape (inductor, ANSI), filled bar (inductor, IEC), triangle+bar (diode), or three-terminal device with arrow (transistor)? This gives you the broad component category.
- Check for modifier marks. Arrow through the symbol → adjustable. Curved plate → polarized capacitor. Double line alongside → iron/ferrite core. “t°” → temperature-dependent. “U” → voltage-dependent. Outward arrows → light-emitting. Inward arrows → light-detecting. These modifiers narrow the sub-type.
- Identify the drawing standard. Is the resistor a rectangle (IEC) or zigzag (ANSI)? Are the inductors bars (IEC) or loops (ANSI)? This tells you the drawing’s origin and, by extension, the likely certification framework that applies.
- Read the reference designator. Every component on a properly drafted schematic carries a reference designator following IEEE 200-1975 / ASME Y14.44 conventions: R = resistor, C = capacitor, L = inductor, Q = transistor, U = integrated circuit, K = relay or contactor, F = fuse or protective device, S = switch, T = transformer, D = diode (sometimes CR for cathode rectifier). This letter code, combined with a sequential number (R12, C5, K3), bridges the schematic to the bill of materials. Find the matching line in the BOM and you have the complete component specification.
- Read the adjacent annotation. Next to or below the symbol, look for the component value (10kΩ, 100µF, 4.7mH), rating (1/4W, 25V, 2A), and tolerance (±1%, ±10%). This is the minimum viable information for a purchase order.
Drawing annotation: “R12 10kΩ 1/4W ±1% 0805”
Decoded: Reference designator R → Resistor. Number 12 → BOM line 12 (resistors). Value 10kΩ → 10,000 ohms. Power 1/4W → 0.25 watt maximum dissipation. Tolerance ±1% → precision grade. Package 0805 → surface-mount, 2.0mm × 1.25mm footprint.
What to buy: 10kΩ surface-mount chip resistor, 0805 package, 0.25W, ±1% tolerance, quantity per BOM.
The reference designator is the most powerful tool in this process. If you have access to the BOM but not the full schematic, finding “R12” in the BOM gives you the exact manufacturer part number — no symbol decoding needed. If you have the schematic but not the BOM, the annotation next to the symbol plus your knowledge of the reference designator system is usually sufficient to specify the component.
Step 2 — Match Specifications to Your Market’s Standards and Requirements
Identifying the component type is only half the battle. The component you buy must also be legal to import, install, and operate in the destination market. Many international procurement efforts stumble right here: a technically correct component gets held at customs because it lacks the right certification mark.
Environmental Compliance. RoHS (Restriction of Hazardous Substances, EU Directive 2011/65/EU) restricts lead, mercury, cadmium, and other substances. Most modern electronic components are RoHS-compliant by default, but legacy and specialty parts — particularly leaded solder finishes and certain connector plating — may not be. Verify before ordering for EU-bound equipment.
Electrical Parameter Matching. A 230V-rated relay coil will burn out on a 120V circuit. A 60Hz transformer may overheat on 50Hz mains. Always cross-reference the component’s rated voltage and frequency against the end user’s local grid. Industrial motors and transformers are particularly sensitive to the 50Hz/60Hz mismatch — a motor designed for 60Hz will run 17% slower on 50Hz, which can cause cooling problems in fan-cooled motors.
Ingress Protection (IP) Ratings. Defined by IEC 60529, IP ratings tell you how well an enclosure resists dust and water. Common benchmarks: IP20 (finger-safe, indoor control panels), IP65 (dust-tight, protected against water jets — suitable for food processing and outdoor installations), IP67 (dust-tight, protected against temporary immersion). For components like limit switches, proximity sensors, and push buttons, the IP rating directly determines where they can be installed. A limit switch with IP20 on a machine that gets washed down daily will fail within weeks.
Step 3 — Build an Effective RFQ That Gets Accurate Quotes
The Request for Quotation is the final document in the symbol-to-supplier pipeline. A well-written RFQ generates comparable quotes within 24 hours. A vague RFQ generates follow-up questions that add days of delay — or worse, generates quotes for the wrong part.
| Field | Example | Why It Matters |
|---|---|---|
| Component type & name | “Electrolytic capacitor” | Supplier categorizes by type |
| Key specifications | “100µF, 25V, ±20%, 105°C, 2000h” | Eliminates ambiguity |
| Reference standard | “IEC 60384-4 compliant” | Ensures quality baseline |
| Target certifications | “CE, RoHS required” | Prevents customs rejections |
| Quantity & unit | “500 pcs; estimated annual usage 5,000 pcs” | Affects unit pricing |
| Package / form factor | “Radial leaded, 5mm pitch, Ø8mm × 12mm” | Ensures physical fit |
| Target delivery date | “Within 30 days of PO” | Filters suppliers who cannot meet schedule |
| Packaging requirement | “Tape & reel for automatic insertion” | Prevents rework costs |
Two RFQ errors that reliably produce wrong quotes:
- “Just write what is on the drawing.” A schematic that says “Relay K3” tells the supplier nothing about coil voltage, contact configuration, or contact rating. The result: either no quote (too vague) or a quote for whatever relay the supplier happens to stock — which may or may not match your application. Always supplement the drawing reference with extracted specifications.
- Omitting quantity and usage context. Unit pricing for 10 pieces looks nothing like pricing for 1,000 pieces. If you do not state quantities, suppliers default to conservative (high) unit pricing to protect themselves. Similarly, stating “sample order for evaluation, 5,000 pcs/year if approved” gives the supplier incentive to offer competitive sample pricing.
The multi-line BOM advantage. Most schematics contain dozens of different components. Sourcing each from a different supplier multiplies your communication overhead, shipping costs, and customs paperwork. If you can find a supplier with broad category coverage — one that stocks power supplies, relays, sensors, switches, and connectors across multiple standards and certifications — you consolidate one BOM into one relationship. One inquiry, one set of quotes, one consolidation point before shipping. For small and mid-sized trading companies managing components across 10–20 factories, reducing that supplier count delivers the single largest operational efficiency gain available.
If you need to verify whether the components identified on your drawings are available within a single supplier’s range, sending the BOM or a schematic fragment to a multi-category supplier like OMCH (omch.com) can help confirm cross-category coverage before you commit to managing multiple vendor relationships.
References
-
International Electrotechnical Commission. “IEC 60617 — Graphical Symbols for Diagrams.”
https://std.iec.ch/iec60617 -
IEEE. “IEEE 315-1975 / ANSI Y32.2 — Graphic Symbols for Electrical and Electronics Diagrams.”
https://standards.ieee.org/standard/315-1975.html -
IEC. “IEC 60529 — Degrees of Protection Provided by Enclosures (IP Code).”
https://webstore.iec.ch/publication/2453 -
IEEE. “IEEE 200-1975 — Standard Reference Designations for Electrical and Electronics Parts and Equipment.”
https://ieeexplore.ieee.org/document/4483758 -
RS Components. “A Guide to Basic Electrical Symbols.” November 2024.
https://uk.rs-online.com/web/content/discovery/ideas-and-advice/electrical-symbols-guide


 English
  Arabic
  Turkish
  Russian
  Spanish
  French
  Indonesian
  Portuguese
  Thai
Thai  Vietnamese