




If you searched for a “push button switch wiring diagram,” you are probably holding one of two very different things: a small electronics push button with two, four, or five pins, or an industrial push button with screw terminals meant for a machine control panel. This guide is about the second world, where push buttons command contactors, motors, and whole machines. But the first step, reading the terminals, is identical in both. Work through the sections in order. By the end you will be able to wire a start–stop station, explain why it holds, and order the right replacement when an old button fails.
Watch: Push Button Switch Wiring Explained
Know Your Button: Terminals and the Momentary vs Latching Difference
Before any wiring, know what is inside the button. Most push buttons give you a common terminal plus one or two contact terminals, and the labels tell you what each contact does.
NO (Normally Open) means the circuit is open at rest: current flows only while the button is pressed. NC (Normally Closed) passes current at rest and breaks when you press. COM or C is the common terminal shared by both. Illuminated buttons add two more terminals for the lamp. On industrial units those lamp terminals are isolated from the switch contacts and wired as a separate circuit (more in Section 3).
| Terminal | At rest | When pressed | Typical job |
|---|---|---|---|
| NO (Normally Open) | Open, no current | Closes, current flows | Start buttons, jog, signals |
| NC (Normally Closed) | Closed, current flows | Opens, current stops | Stop buttons, e-stop chains, alarms |
If the markings are worn off, as they often are on old machine buttons, find the contacts with a multimeter in continuity mode. Disconnect power, probe two terminals, press the actuator. A pair that is open at rest and beeps while pressed is NO. One that beeps at rest and opens when pressed is NC. Keep probing until you find the common terminal that pairs with both.
One more distinction matters before any wiring. Momentary (spring-return) buttons make contact only while you hold them. Latching (maintained) buttons stay switched after one press until you press again. Both come in every contact configuration, and the difference decides what your wiring has to do. That is exactly the next section.
Two behaviors, two wiring jobs
Momentary
Contact closes only while you hold it · jog, test, pulse
Latching
One press switches it, another releases · direct on/off
In machine control, most start–stop stations use momentary buttons and let a contactor do the holding. Section 3 shows the wiring.
Wiring a Push Button Straight to the Load: When Direct Wiring Works and When It Fails
The natural instinct is to wire the button straight to whatever it controls, and in three situations that is fine:
- A latching button driving a simple resistive load. Press once, it stays on; press again, off. Think lamp, heater, or fan.
- A momentary button used for jogging. A machine that runs only while the operator holds the button. Release and it stops: a feature, not a fault.
- A momentary button feeding a PLC or controller input. The logic that “keeps” the command lives in the controller, not the button.
What does not work is a momentary start button wired directly to a motor when you expect it to keep running after you lift your finger. The contacts open on release and the motor stops. This is the failure that fills electrical forums. Machine owners wire a proper start–stop station straight into a motor, find that it does nothing, and cannot find a diagram that says why. Running the motor by plugging it into a wall socket while the station waits is worse: no start–stop logic, no overload protection, no way to stop it quickly.
The old-timer vocabulary for this is 2-wire vs 3-wire control. Two-wire means the button sits in the power path: press to run, release to stop (jog). Three-wire is the scheme that keeps a motor running after the start button is released, using a wire that runs through the contactor’s own auxiliary contact. Note the clash with the electronics world, where “2-pin” and “3-pin” count the button’s pins. Same words, different meanings.
| Your setup | Direct wiring that works | Where it stops working |
|---|---|---|
| Lamp or heater, latching button | Press on, press off | Over-current beyond the contact rating burns the button |
| Motor that must run until stopped | Nothing — momentary drops out on release | Needs a contactor or relay with a seal-in circuit |
| Jog or inching operation | Momentary button straight through | None — that is the intended behavior |
| Signal into a PLC input | Momentary button to the input | Voltage and polarity must match the input card |
If your button is momentary and your load must stay on, the button alone cannot do it. The holding job moves to a contactor or relay, and that is the subject of the next section.
Start–Stop Push Button Wiring: The Seal-In Circuit Explained Step by Step
A contactor is an electrically held switch. Energize its coil and the main contacts close, staying closed until the coil loses power. The button only commands the coil; the coil holds the circuit. That is the “seal-in” (holding) circuit behind “press start once, run until you press stop.” For small DC loads, a relay with an auxiliary contact does the same job.
How the Seal-In Circuit Is Wired
With control power off, build the circuit in this order:
- From control power (say 220 VAC or 24 VDC, through a small fuse), go to one side of the stop button’s NC contact.
- From the other side of the stop button, go to coil terminal A1.
- From coil terminal A2, return to the other side of the control supply.
- Connect the start button’s NO contact in parallel with the contactor’s NO auxiliary contact, and put that parallel pair across the stop-button-to-A1 path.
At rest nothing is energized. Press start, and its NO contacts close, the coil energizes, and the contactor pulls in. The auxiliary contact closes at the same instant, because it is mechanically linked to the main contacts. So when you release the start button, the coil stays powered through the auxiliary contact. Press stop: the NC contacts open, the coil drops out, and the circuit returns to rest.
Seal-In Wiring at a Glance
Result: the auxiliary contact seals the start command in; the stop button breaks the coil circuit
If you draw this from memory, keep one rule: start buttons go in parallel, stop buttons go in series. That sentence is the whole seal-in circuit.
Why the Stop Button Must Be Normally Closed
The stop button is NC so that it sits in series with the coil. Anything that opens that path drops the contactor out: a broken wire, a loose terminal, a failed contact. All of them stop the machine. That is the fail-safe direction. Now imagine a NO stop button wired in parallel with the coil. You would have to close it to stop the machine, and a broken wire in the stop chain would silently leave you with no way to stop at all. When a machine will not start and the stop button checks out, suspect the NC stop chain first. An oxidized or mis-wired NC contact is the classic culprit.

Wiring Illuminated Push Buttons and Pilot Lights
An industrial illuminated button is two independent circuits in one housing. The switch contacts run the control circuit exactly as above. The lamp terminals take a separate supply at the lamp’s rated voltage, typically 24 VAC/DC or 220 VAC, and the two must match. This is where the electronics habit causes trouble. A 5-pin LED button shares its common between switch and lamp; an industrial illuminated button does not. Wire a 24 V lamp into a 220 V circuit and the lamp dies instantly. To have the lamp on whenever the machine runs, wire it in parallel with the contactor coil, through the same NC stop chain, so it goes dark when the machine stops. Pilot lights follow the same logic: they are a lamp assembly in the same control circuit.
Once you can read a seal-in circuit, you can also diagnose one. That is exactly what you need when the old button on a machine finally fails.
Start in Parallel, Stop in Series
Start path · in parallel
START (NO) and the AUXILIARY CONTACT (NO) join as one parallel pair that feeds the coil. Release the button and the auxiliary keeps it alive.
Stop path · in series
STOP (NC) sits in series ahead of the coil. Break that path and the coil drops out.
Replacing an Old Push Button: Identify It, Spec It, Test the New One
Most push buttons are bought by people fixing machines, not by people designing panels. The person ordering rarely knows the part number. The button on the machine just says “start” and “stop.” What follows works whether you are the repair technician or the supplier’s support person on the other end of the email.
Identify What Is Actually Installed
With the power off:
- Behavior test. Press the actuator and release. Contacts that stay switched are latching. Contacts that spring back are momentary. Machines with a contactor almost always use momentary buttons, because the seal-in circuit does the holding.
- Contact test. Use a multimeter in continuity mode, find COM, NO, and NC as in Section 1, and count the contact blocks. One NO, one NC, or one of each (1NO1NC) is the usual spread.
- Physical information. Measure the panel hole. 22 mm is the overwhelming standard for industrial push buttons, though older panels may carry 25 mm or 30 mm units. Note whether the button is illuminated and what voltage feeds the lamp, and whether the terminals are screw or blade type.
What to Tell Your Supplier
A complete replacement request needs seven fields; anything less risks the wrong part and extra downtime:
- Behavior: momentary or latching (momentary for contactor circuits)
- Contacts: 1NO, 1NC, or 1NO1NC
- Illumination: none, or lamp voltage (24 V or 220 V)
- Mounting: panel hole diameter (22 mm standard)
- Terminals: screw, blade, or other
- Rating: contact current/voltage at least equal to the old unit
- Color: green for start, red for stop, yellow for jog. Red mushroom for emergency stop
Replacement Spec Sheet
- Momentary or latching?
- Contact set: 1NO / 1NC / 1NO1NC
- Lamp: none, 24 V, or 220 V
- Panel hole diameter
- Terminal type
- Contact rating = or greater than the old part
- Button color and function
Test After Fitting — and the Failures That Bite
After fitting, run three checks. Press start and release: the machine must keep running. Press stop: it must stop immediately. Then test the emergency stop if fitted. The common service failures:
| Symptom | Most likely cause | Action |
|---|---|---|
| Nothing happens on start | NC stop chain open, wrong coil voltage, wrong contact set | Check stop chain continuity, coil rating, contact configuration |
| Runs only while start is held | Seal-in auxiliary contact missing or faulty | Verify auxiliary contact wiring, replace contact block if worn |
| Lamp dead or instantly burns out | Lamp voltage mismatched to supply | Match lamp rating to its supply circuit |
| Button hot or burnt | Load current above contact rating | Move the load to a contactor; size contacts properly |
If the machine still will not hold or stop after a fresh button, the fault is usually the circuit, not the button. That brings us to the rules of the next section.
Extra Stations and Emergency Stops: Parallel and Series Wiring Rules
Once you understand the seal-in circuit, extending it is pure logic.
Adding a second start button, say at the other end of a long machine: wire it in parallel with the existing start button. Any start button closing completes the same path, so any of them starts the machine.
Adding a second stop button, such as a tail-stock stop on a lathe or a supervisor’s stop at the door: wire it in series with the existing stop button, in the same NC chain. Any stop button opening breaks the coil circuit, so any of them stops the machine.
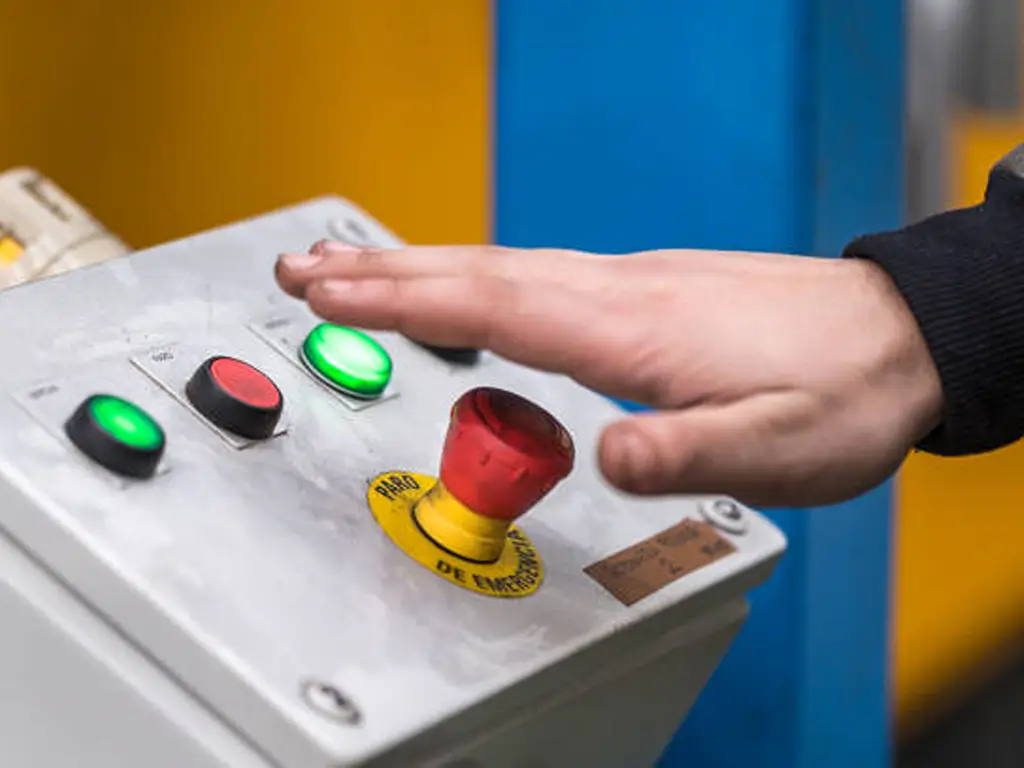
Emergency stops are not ordinary stop buttons. An e-stop is a red mushroom actuator on a yellow background, the visual convention of ISO 13850, the machinery-safety standard. Its NC contacts open directly and mechanically when pressed, and a latch holds it pressed until someone deliberately twists or pulls it out. So the stop survives a welded contact or a failed spring. Wire the e-stop’s NC contacts into the same series stop chain, in addition to the normal stop button, never instead of it. And one rule that needs no standard: never switch the ground conductor. Interrupt the live side only.
| Element | Wiring rule | Reason |
|---|---|---|
| Start buttons | All in parallel | Any one closing starts the machine |
| Stop buttons | All in series (NC chain) | Any one opening stops the machine |
| Emergency stop | NC, in series, resettable by deliberate action | Fails safe, survives contact faults |
| Ground conductor | Never interrupted | Safety bonding stays continuous |
What This Means for Repair Shops and Parts Suppliers
Step back, and this wiring problem turns out to be a stocking problem. A push button is one of the most predictable components in industrial control: two behaviors (momentary, latching), a small closed set of contact configurations (NO, NC, 1NO1NC), one dominant mounting standard (22 mm), two common lamp voltages (24 V and 220 V), and a handful of colors with fixed meanings. Unlike a sensor, where you chase detection distance, polarity, and target material, a button’s specification space is small enough to cover completely. That is why repair markets treat them as consumables, replaced as contacts wear.
That predictability changes how a repair-market supplier should stock. Full configurations matter more than exotic models: momentary 1NO and 1NO1NC units in 22 mm, illuminated versions at both lamp voltages, the standard color set, and emergency stops. And because the buyer is a technician with a dead machine who cannot always name the part, the supplier who asks the seven questions from Section 4, and can answer “why won’t it stay on?” when the customer calls back, closes the sale. A repair customer does not change suppliers over a few cents. They change suppliers when someone makes their machine easy to fix. The wiring knowledge in this article is the difference between selling a button and solving a machine problem.
If you supply or repair control panels and want push buttons, contactors, relays, and indicator lights from one source, with spec-based selection support that confirms the seven specs above before your order ships: OMCH carries the full family. See our product selection service for how it works.
Send the Seven Specs, Get the Right Push Button Confirmed
Order push buttons, contactors, relays, and indicator lights together. Send the seven-point spec list from Section 4 — or photos and markings of the old unit — and our selection team double-checks the match before your order ships.
Send My Spec ListReferences
- Rockwell Automation. “Emergency Stop Push Buttons.” https://literature.rockwellautomation.com/idc/groups/literature/documents/wp/800-wp008_-en-p.pdf
- Control Design. “What Is an Emergency Stop?” https://www.controldesign.com/safety/safety-components/article/33014750/what-is-an-emergency-stop
- DigiKey Forum. “Introduction to the 3-Wire Start-Stop Circuit.” 2024. https://forum.digikey.com/t/introduction-to-the-3-wire-start-stop-circuit/39176
- Electrical Contractor Network Forums. “Start/Stop [3 Wire] AC Motor Control.” 2012. https://www.electrical-contractor.net/forums/ubbthreads.php/topics/208177/start-stop-3-wire-ac-motor-control.html
- Practical Machinist. “Wiring a Push-Button Stop-Start Switch.” 2011. https://www.practicalmachinist.com/forum/threads/wiring-a-push-button-stop-start-switch.222915/
- Reddit r/electrical. “Basic Wiring Diagram for NO/NC Push Button Start Switch.” https://www.reddit.com/r/electrical/comments/dpe1nm/basic_wiring_diagram_for_no_nc_push_button_start/


 English
  Arabic
  Turkish
  Russian
  Spanish
  French
  Indonesian
  Portuguese
  Thai
Thai  Vietnamese