


The proximity sensor is an unsung hero of a world of more and more automated and more intelligent devices. In everything you own, including that smartphone in your pocket or most advanced industrial equipment, this element plays a very important role: it tells when there are objects nearby with no physical contact being made. Its failure may cause frustrating user experiences or expelling downtime in a line of production.
This authoritative guide gives you an overview of proximity sensors and their practical applications, including the use of proximity switches. We will look at the basic principles of their operation, describe in detail the step-by-step testing procedure on both consumer and industrial equipment, and present a solid troubleshooting approach essential for quality assurance. Regardless of whether one is a casual user seeking to resolve a smartphone problem or a technician/engineer troubleshooting a complicated automated device, you will be empowered with the skills after reading this article to perform any proximity sensor test and fix.
What is a Proximity Sensor?
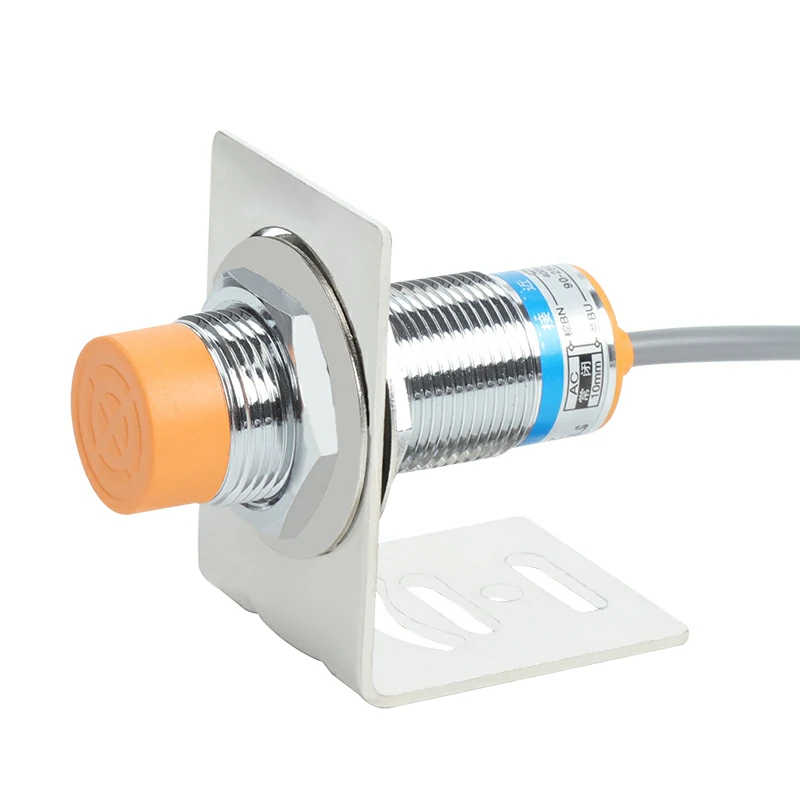
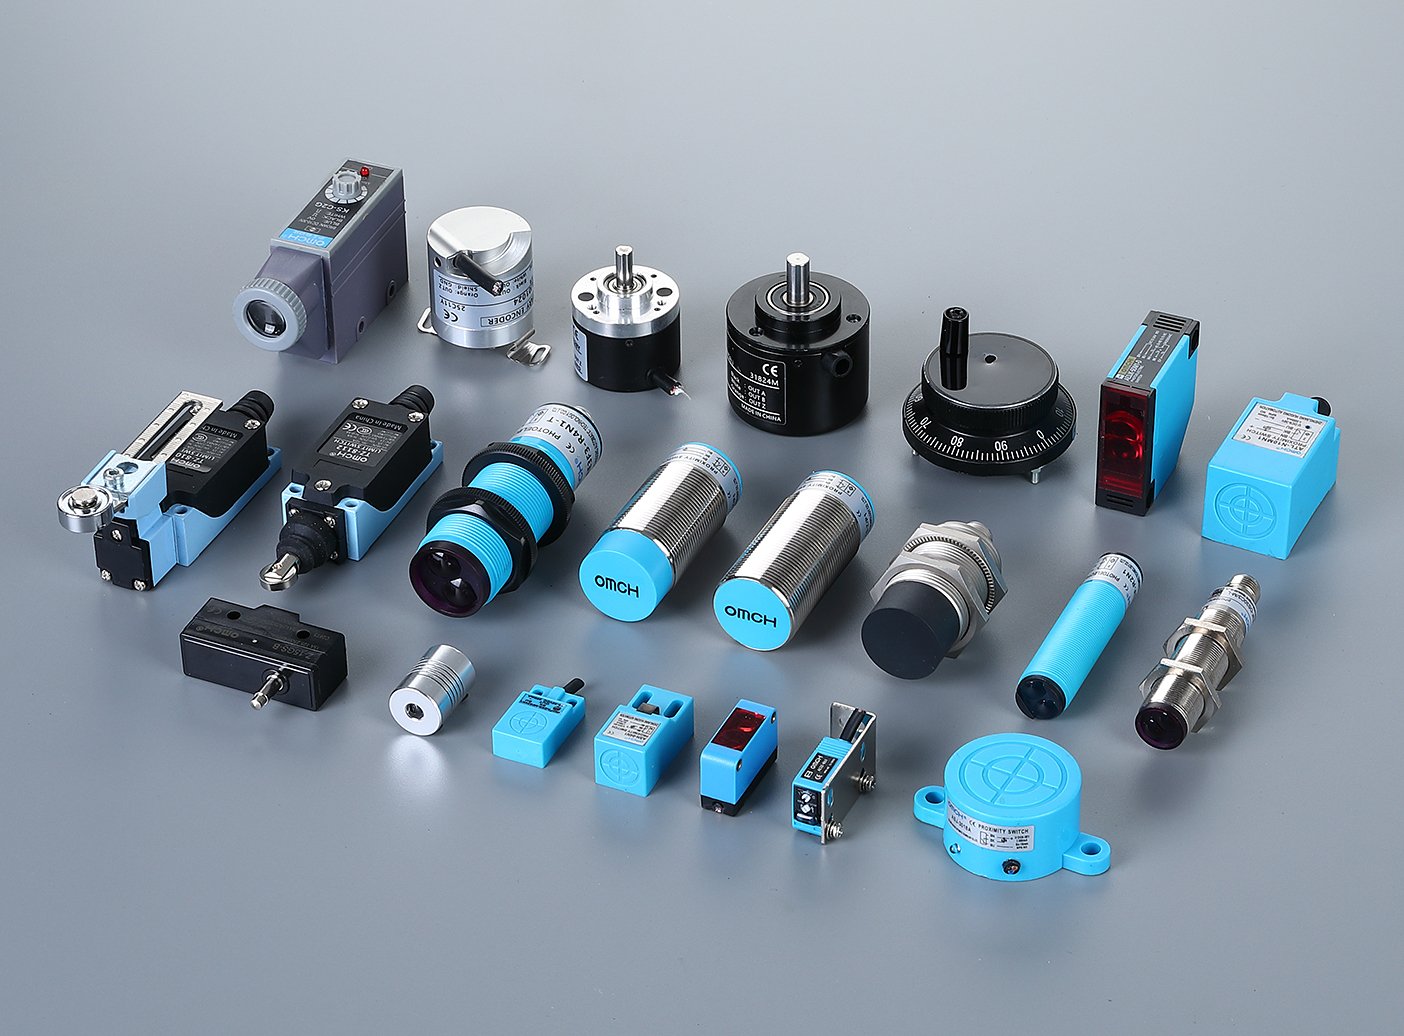
A proximity sensor is an electronic device that is able to determine either the instance of an object in a sensing region or whether an object is being absent in a sensing region without any physical contact with the object. The key difference between contact with non-contact detection means that this type of detection does not require the physical application of a force to change the switch state. When the sensor is within the range of an object, or target, a signal will be produced by the sensor and can be deployed to activate a reaction within a device or system. This can range on the simple as turning a screen down to the complex of stopping a multi ton machine. This capacity to accomplish this task repeatedly and satisfaction guaranteed with speed and no mechanism wear makes proximity sensors to be unavoidable in any modern-day technology and automation.

Types of Proximity Sensors (Inductive, Capacitive, Infrared, Ultrasonic)
The proximal sensors are not an algebra; they are based on different physical principles, being applicable to different types of application and to target materials. The four common ones are Inductive, Capacitive, Infrared and Ultrasonic. They are all equally different, with their own benefits and flaws in terms of what materials they are sensitive to, their detection range, and how they resist environmental conditions. Knowing such differences is the initial step to efficient diagnostics and use.
To clarify their capabilities, the following table provides a direct comparison of these primary sensor technologies.
| Sensor Type | Operating Principle | Target Materials | Typical Sensing Range | Key Advantages / Disadvantages |
| Inductive | Detects changes in a high-frequency magnetic field generated by an oscillator coil. | Ferrous and non-ferrous metals. Performance varies with metal type. | Short (1mm – 60mm) | Pro: Robust, unaffected by dust/moisture, high switching speed. Con: Only detects metal objects. |
| Capacitive | Detects changes in capacitance. The sensor acts as one plate of a capacitor; the target acts as the other. | Metals, plastics, liquids, powders, virtually any solid or liquid. | Short to Medium (3mm – 60mm) | Pro: Detects a wide variety of materials, can “see” through thin materials. Con: Sensitive to humidity and temperature changes. |
| Infrared (IR) | An emitter sends out a beam of infrared light. A receiver detects the reflection of this light off a target object. | Most solid objects, particularly non-transparent ones. Color and reflectivity affect range. | Medium to Long (Few cm – several meters) | Pro: Good range, cost-effective, can be very small. Con: Affected by ambient light, smoke, dust, and surface color. |
| Ultrasonic | An emitter sends out high-frequency sound pulses. A receiver measures the time it takes for the echo to return from a target. | Most solid or liquid objects, regardless of color or transparency. | Medium to Long (Few cm – several meters) | Pro: Reliably detects various materials, unaffected by light or color. Con: Can be affected by soft surfaces that absorb sound, temperature, and air turbulence. |
How Proximity Sensors Work in Smartphones
A proximity sensor in a modern smartphone is a minor but an essential element, and its placement on a front face is standard, near the earpiece and the front-facing camera. The need to fulfill its main feature is a question of both convenience and feasibility. The commonest use it has is the adjustment of the screen when it comes to making phone calls When you bring the phone to your face, it is within the range of the sensor and the operating system deactivates the screen and shuts off touch input. This will avoid cases of unintended key presses by the cheek or the ear to the phone, including muting the call, activating the keypad, or, terminating the conversation. Moreover, this operation brings a substantial power saving advantage, with the display consuming one of the most power practical with the device. Besides call management, certain devices are also using the proximity sensor to eliminate accidental “pocket dials'(or touches) by turning the screen off when it detects it is in a confined area such as a pocket or bag.

How the Proximity Sensor Impacts User Experience
An effective proximity sensor is part of the smooth and intuitive customer experience. It is hidden in the background and an invisible force that makes interaction with device feel natural. The user does not concern him or herself with locking the screen when the call is in progress. The phone does this automatically. The result of this little component failing, however, is an instant and extremely annoyed usability. A faulty sensor can cause or result in inadvertent muting of a call, call drops, or even opening of random applications. In contrast, a sensor in the stuck near position can leave the screen black after the phone call is over, so that the user could neither access its call control panel nor hang up properly. This leaves the user to wait until the other party hangs up or he has to reset hard. A defective proximity sensor corrupts the fluid, the intended functionality of the device, making a simple telephone call a major cause of stress.
How to Test a Proximity Sensor on Your Smartphone
If you suspect your smartphone’s proximity sensor is malfunctioning, there are several simple and reliable methods to confirm its operational status. These tests require no special equipment and can be performed in minutes.
Dial Test (Call and Cover Sensor)
This is the most direct and universally applicable method for testing the proximity sensor’s primary function. It simulates the exact scenario the sensor is designed for.
- Open Your Phone App: Navigate to the standard dialer application on your smartphone.
- Make a Phone Call: You can call your voicemail, a customer service number, or a friend. The key is to initiate an active call that is not on speakerphone mode. The speakerphone function typically deactivates the proximity sensor by default.
- Cover the Sensor: While the call is active, place your thumb or finger directly over the top bezel area of your phone where the earpiece and front camera are located. This is the standard location for the proximity sensor.
- Observe the Screen: If the sensor is working correctly, the screen should immediately turn black and become unresponsive to touch.
- Uncover the Sensor: Remove your finger from the sensor area. The screen should instantly light up again, displaying the active call interface.
If the screen does not turn off when covered or fails to turn back on when uncovered, it is a strong indication of a sensor issue.
Using Third-Party Apps for Sensor Testing
For a more data-driven and definitive test, you can use specialized applications designed to read raw data from your phone’s hardware sensors. These apps can often confirm a malfunction even if the dial test is inconclusive.
- Navigate to Your App Store: Open the Google Play Store on an Android phone or the Apple store on an iPhone.
- Search for a Sensor Testing App: The app can be found by search words such as sensor check, proximity sensor diagnostics or phone diagnostic. Such well-known and stable apps as “Sensor Test” or “CPU-Z” or “Phone Doctor Plus” may be chosen.
- Install and Launch the App: Download an application with good reviews from a reputable developer.
- Locate the Proximity Sensor Test: Once inside the app, navigate to the section for sensor diagnostics. Find and select the “Proximity Sensor” option.
- Perform the Test: The app will either show an image or a number. By placing your hand in front of the sensor, the picture should react (e.g., a light will turn on, an image will change) or the value should switch (e.g., the value will change, to 0.0 cm). This gives a clearly marked yes /no response of whether the sensor is detecting an encounter.
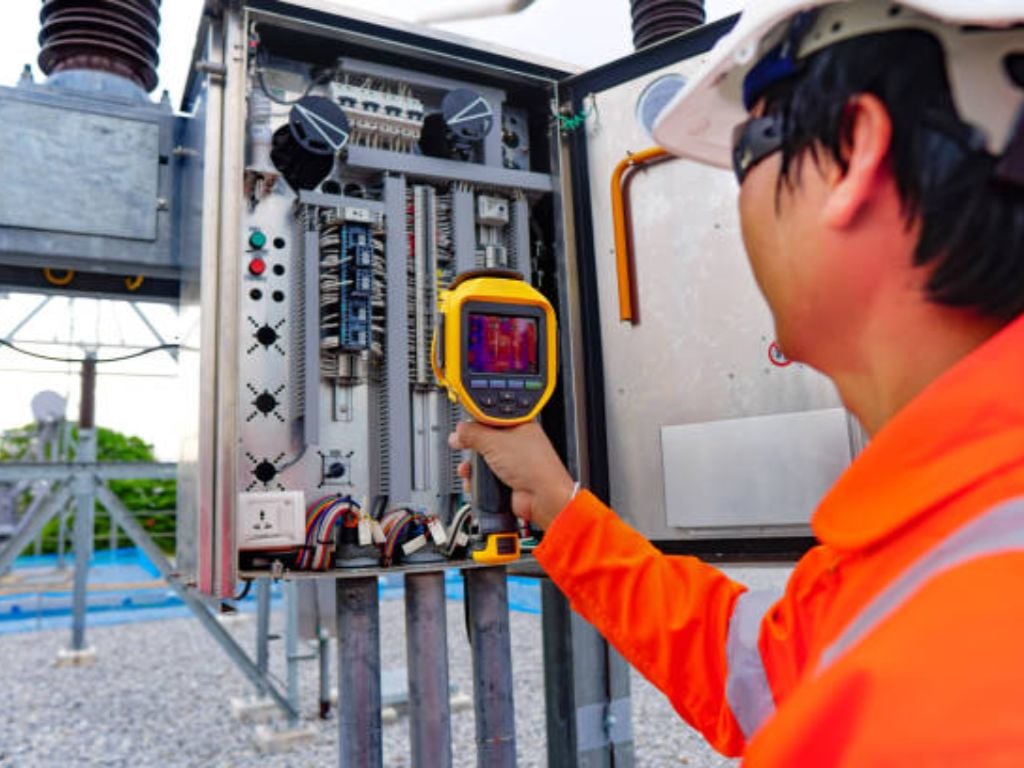
Advanced Proximity Sensor Testing Methods for Industrial Devices

Testing proximity sensors in an industrial setting requires a more technical approach than testing a smartphone. The goal is to verify the sensor’s electrical output and its ability to detect its intended target accurately within a machine’s control system.
Testing with a Multimeter
A digital multimeter is the most essential tool for diagnosing industrial proximity sensors. The primary test involves verifying the output signal when the sensor is triggered. Most modern sensors are 3-wire DC sensors with PNP or NPN output configurations.
- Ensure Safety: Before testing, ensure the machine is in a safe state. Follow proper lock-out/tag-out (LOTO) procedures if necessary to prevent unexpected machine movement.
- Identify the Wires: A standard 3-wire sensor has a power wire (typically brown, +V), a common/ground wire (typically blue, 0V), and a signal wire (typically black).
- Power the Sensor: Ensure the sensor is receiving the correct operating voltage (commonly 10-30 VDC) across the brown and blue wires. Use the multimeter in DC voltage mode to confirm this.
- Connect the Multimeter to the Output: Place the multimeter’s negative probe on the common/ground wire (blue). Place the positive probe on the signal wire (black).
- Trigger the Sensor: Introduce the appropriate target material into the sensor’s detection range.
- Read the Voltage:
- For a PNP Sensor (Sourcing): When triggered, the signal wire should output a voltage close to the supply voltage (+V). When untriggered, it should read close to 0V.
- For an NPN Sensor (Sinking): When triggered, the signal wire is connected to ground, so it should read a very low voltage (close to 0V). When untriggered, it may “float” and give an unstable reading, or depending on the circuit, it might be pulled up to a higher voltage. The key is the change to near 0V upon detection.
This test definitively confirms if the sensor’s internal switching mechanism is functioning correctly.
Triggering with Specific Objects Based on Sensor Type
The multimeter test is only valid if the sensor is triggered correctly. Using the wrong target material is a common diagnostic error.
- Inductive Sensors: These devices have to be tested by using a metal object. Ferrous metals such as steel will send a signal to the sensor at its full rating range. The sensing range of non-ferrous metals such as aluminum will be shorter. Avoid plastic, wood or other non-metallic material.
- Capacitive Sensors: They can be tested to a large extent on different materials such as plastic, wood, metallic bottles or tin cans. They may be easily adjusted toward sensitivity so when the test fails make sure to adjust the sensitivity potentiometer on the sensor before it is labeled as faulty.
- Infrared Sensors: Do a test with a solid non transparent object. A piece of cardboard, a hand or even a component in the production line will suffice. Note that rather dark and more matt surfaces could absorb more light and might be less sensitive at longer distances than light and reflecting ones.
- Ultrasonic Sensors: Test using a hard solid object, which can greatly reflect sound. Soft, resonance-absorbing materials such as foam or dense fabric might not be a reliable echo and can cause an inaccurate diagnosis.
Common Issues and How to Fix Them

This section focuses on the most frequent causes of proximity sensor malfunction on smartphones and provides a clear, step-by-step troubleshooting process. Always start with the simplest solution first.
Cleaning the Sensor
One factor that occurs most frequently, and therefore most commonly causes proximity sensor failure, is physical obstruction. The sensor is on the face of the phone, underneath the glass and can be easily covered in dirt and grime, dust and this is enhanced by the facial oils that accumulate on it over time. This blockage has the potential to confound the sensor and making it to think that an object is always close by.
- Solution: Make use of a clean dry microfibre cloth. Wipe the full width of your smartphone top bezel very carefully and well. Then pay attention to the region near the earpiece cuttingl hole, where the lens of the sensor usually is. In case of unmovable stains, put a little moisture on one corner of the cloth by using a screen-safe cleaning fluid. Make sure to clean, and then run the dial test again to see whether the problem is now fixed.
Checking Phone Case or Screen Protector
Poorly designed or improperly installed accessories are another leading cause of sensor issues.
- Phone Case: Large, uncouth or improperly fitting phone cases may have a top lip or protrusion that comes into the sensor field of view resulting in a continuous trigger.
- Solution: Very slowly take the phone out of the protective case altogether. Carry out the dial test without the case. In case the sensor, now, has started to work properly, the case should be blamed. You will have to change it with a model which has a normal cutout to match the sensor array.
- Screen Protector: A screen protector that is improperly installed, has bubbles in front of the sensor, is not fitted to your particular phone, or has become cloudy over time can obstruct the infrared light of the sensor.
- Solution: This is a longer-lasting measure. Slowly remove the film protector This will probably make it unusable, be sure before doing so. Clean the screen well and conduct dial test. Once that cannot be a problem anymore you have to buy yourself a new and good quality screen protector that fits your model and has an accuracy cutout where your proximity sensor is.
If these physical checks do not solve the problem, the issue may be software-related, requiring a device restart or a software update.
Troubleshooting Industrial Proximity Sensors
Troubleshooting in an industrial environment is a systematic process of elimination. A sensor failing to signal is often a symptom of a larger issue, not necessarily a fault in the sensor itself.
Power Supply and Circuit Check
A sensor cannot function without correct and stable power. This should always be the first point of inspection.
- Check the Power Source: Trace the sensor’s power wires back to the power supply unit (PSU) or terminal block. Use a multimeter to verify that the PSU is outputting the correct voltage (e.g., 24 VDC).
- Verify Voltage at the Sensor: Check the voltage directly at the sensor’s power and common terminals (brown and blue wires). A significant voltage drop between the PSU and the sensor indicates a problem with the wiring, such as a damaged cable, a loose terminal connection, or a cable run that is too long or undersized.
- Inspect the Signal Circuit: The issue may lie between the sensor and the control system input (e.g., a PLC input card). Check for continuity on the signal wire. Ensure all terminal screws are tight. A common failure point is the M8 or M12 connector; inspect it for bent pins or contamination.
- Check the PLC Input: Verify that the PLC input card is functioning. Check the status indicator LED for that specific input on the PLC itself. Sometimes you can manually trigger the input with a wire to see if the PLC logic responds, confirming the problem lies upstream.
Alignment and Distance Checks
A perfectly functional sensor that is improperly installed will fail every time. Physical positioning is critical.
- Sensing Distance: Ensure the target object is passing within the sensor’s specified operating range. Remember that the nominal sensing distance is often an ideal value; real-world conditions and non-ideal targets can reduce it.
- Alignment: The target must pass through the effective part of the sensing field. For photoelectric sensors, this means ensuring the emitter and receiver are perfectly aligned (for through-beam) or that the target is at the correct angle to reflect the beam back to the sensor (for retro-reflective or diffuse).
- Environmental Interference: Look for sources of potential interference. For inductive sensors, this could be strong electromagnetic fields from motors or VFDs. For capacitive sensors, extreme humidity or material buildup on the sensor face can cause false triggers. For infrared sensors, high-intensity ambient light or reflective surfaces in the background can be problematic.
| Troubleshooting Checklist for Industrial Sensors |
| 1. Check LED Indicator: Is the sensor’s own status light activating when the target is present? |
| 2. Verify Power: Is the correct voltage present at the sensor’s terminals? |
| 3. Test Output Signal: Does the signal wire switch voltage correctly when tested with a multimeter? |
| 4. Confirm Target & Range: Is the correct material being used within the specified sensing distance? |
| 5. Inspect Wiring & Connections: Are all cables, connectors, and terminals secure and undamaged? |
| 6. Check PLC/Control Input: Is the input point on the controller functioning correctly? |
When to Replace or Service Your Proximity Sensor
While troubleshooting can resolve many issues, there comes a point where the component itself has failed and requires replacement. Recognizing the signs of terminal hardware failure saves time and prevents the fruitless repetition of diagnostic steps.
Signs of Hardware Failure
A sensor should be considered for replacement if it exhibits the following symptoms, even after you have confirmed that the power supply, wiring, and installation are all correct:
- No Response: The sensor shows no signs of life—the status LED does not light up, and the output signal does not change under any circumstances, despite having confirmed power.
- Erratic Behavior: The sensor triggers intermittently or chatters (switches on and off rapidly) when the target is held stationary within the sensing range. This often indicates an internal component is failing.
- Permanent “On” or “Off” State: The sensor’s output is stuck in one state regardless of whether a target is present. This is a clear sign of a failed internal switching transistor.
- Physical Damage: Any visible damage to the sensor housing, lens, or integrated cable, such as cracks, melting, or severe abrasion, compromises its integrity and warrants replacement. Water or oil ingress due to a broken seal is a definitive cause of failure.
Contacting Experts for Repair or Replacement
In case of consumer products such as smartphones, professional repair is usually necessary after a hardware failure has been confirmed. An incorrect self-repair can involve greater damage. Connect to the manufacturer of the device support, or to a trustworthy third party repair shop.
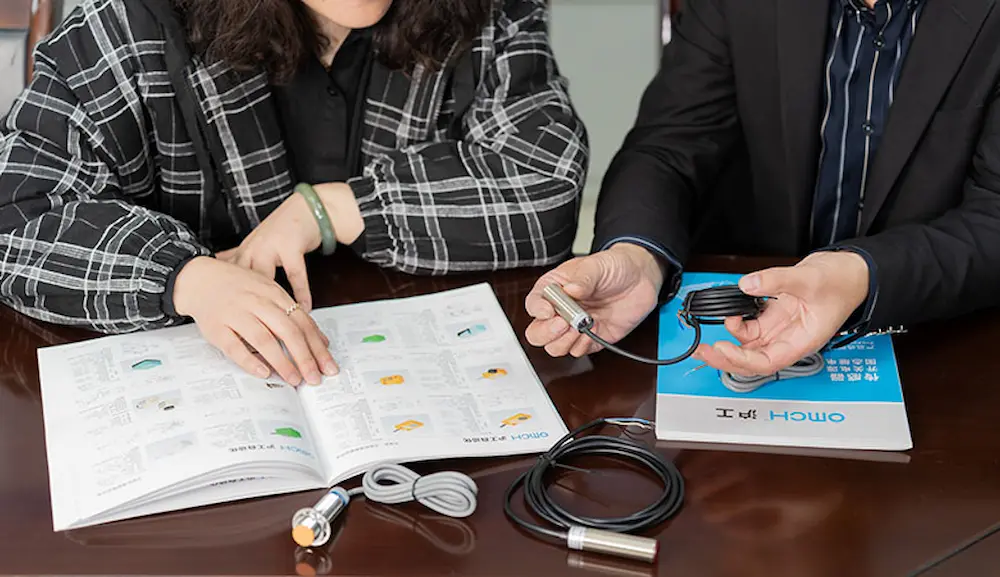
The action of replacing a sensor may be simple for a qualified technician in an industrial scenario. The trick is finding a quality solution and dependable replacement. This is where it is important to partner with a specialist supplier. A knowledgeable supplier supplies the part, but it also supplies application support to help you choose the optimum part to do the job, which may be an upgraded part to prevent repeat failures.
Why Choose OMCH for Proximity Sensors?
In an industrial environment, a component failure is never just about the component; it’s about downtime, lost productivity, and maintenance costs. The reliability of your system is only as strong as its weakest link. This is why selecting a partner for your automation components is as important as selecting the components themselves.
Our Expertise in Industrial Automation and Sensor Solutions
We are more than just a supplier, at OMCH we are the specialists in one of the hottest industries automation. We are dedicated to deliver high-performance, robust, and reliable electrical/control components capable of performing under the strains of the contemporary manufacturing and logistics. We know the market the sensors you are putting on are in -intense vibrations on equipment to washdown areas and we have developed a portfolio of products to perform well in these applications. Our experience enables us to offer practical support to our B2B customers, e.g. distributors, OEMs and system integrators, to assist in the selection of the most suitable sensor technology to meet their application.
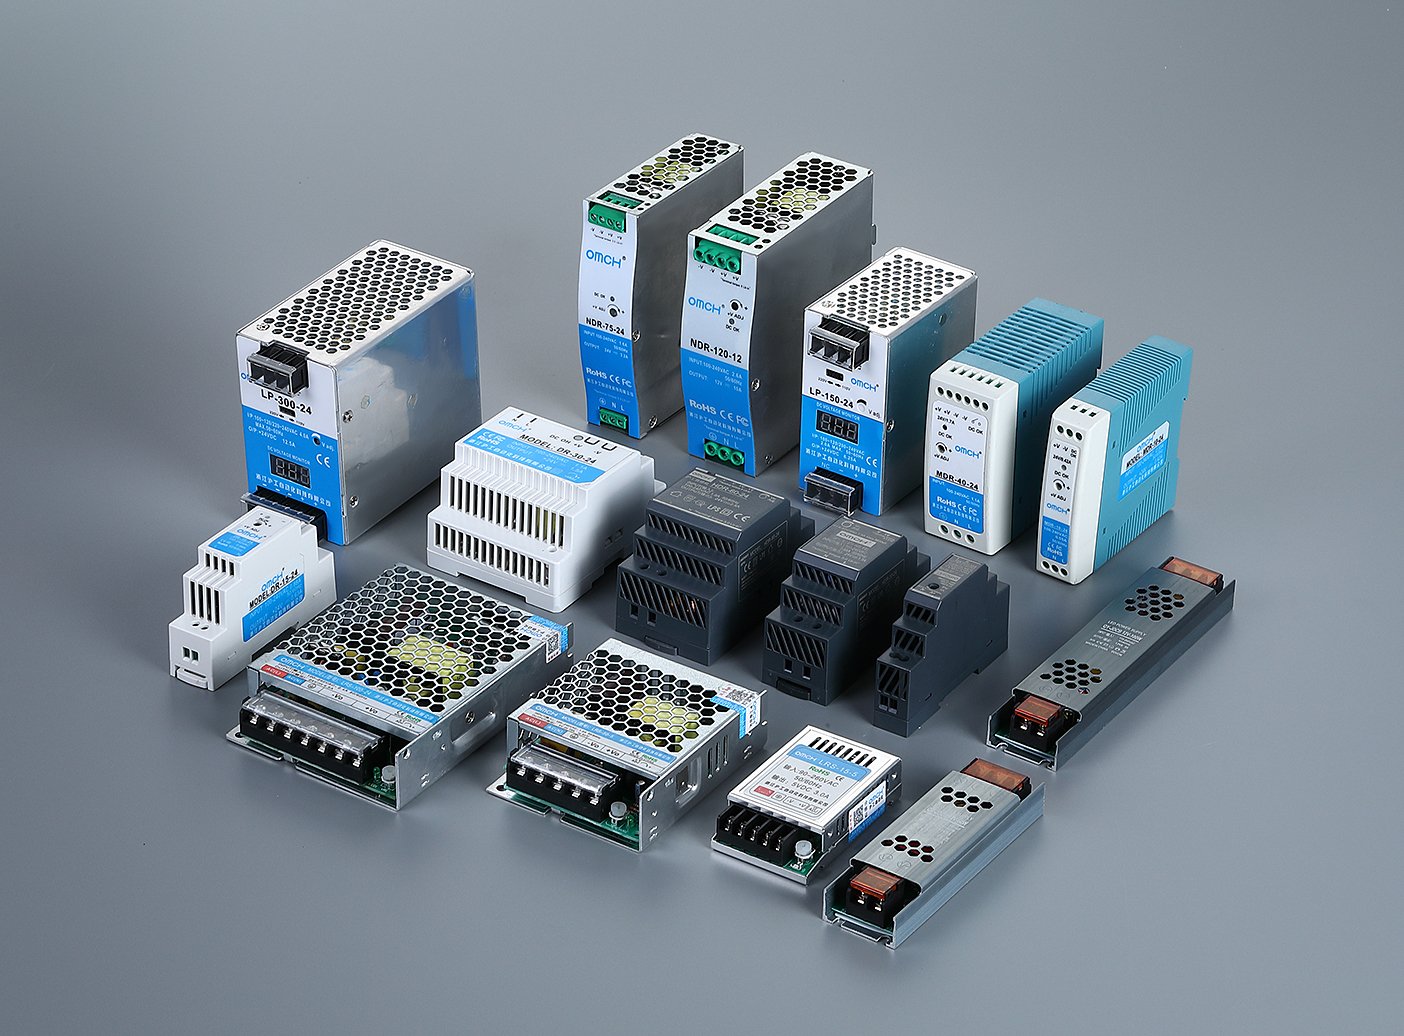
High-Quality Sensors for B2B Customers with a Focus on Reliability and Service
The quality of our products and reliability is what we are committed to. All OMCH proximity sensors are made to high standards resulting in homogeneous performance and longevity of service. In our B2B customers, this is reflected in more machine uptime, fewer maintenance calls and a happier customer. We provide a full line of inductive, capacitive, photoelectric, and other types of sensors to match any application requirement. Working with OMCH gives you not just access to the best products available but a dedicated service team which is ensuring that you succeed. We offer technical assistance and logistic effectiveness that helps your activities run without any hitch.
Proximity Sensor Test FAQ
- Can a software update fix a proximity sensor?
In certain instances, yes. In a case whereby a bug in the operating system of the sensor or a conflict in the driver software induces the malfunction, a software upgrade pushed by the manufacturer may include a patch to the malfunction. That is why the process of updating the OS on your smartphone is one of the recommended actions the troubleshooting process. A physical hardware failure however cannot be fixed by a software update.
- How do I recalibrate my proximity sensor?
Android In some Android devices, calibration options are accessible, but they may be hidden. In this, you normally press a specific code to activate a hidden service menu, and you are taken through on screen prompts which normally comprise of first covering then uncovering the sensor. It should be mentioned that not every phone has this feature and iOS devices do not have a calibration option available to the user. The problem may also be exacerbated by improper calibration, so take care.
- What’s the difference between NPN and PNP sensors?
The difference lies in the internal circuitry of the output transistor and how the electrical load is switched. It defines the relationship between the signal wire and the common wire.
- PNP (Sourcing): When a PNP sensor is activated, it “sources” current. The signal wire outputs a positive voltage (+V) to the load. The load is connected between the signal wire and the common (0V). This is the most common standard in Europe and North America.
- NPN (Sinking): When an NPN sensor is activated, it “sinks” current. The signal wire is switched to the common/ground (0V). The load is connected between a positive voltage source (+V) and the signal wire. This is the most common standard in Asia. It is critical to match the sensor type (PNP or NPN) to the input type of your PLC or control device.