


LED light strips are making homes and businesses brighter and more energy-efficient. They are now using LEDs instead of fluorescent lamps, tube lights, and decorative bulb style lighting in different types of fixtures. Before you can use them, you must first make sure they are connected to a power source.
It’s not only about connecting the LED tape. You also need to understand how it works with the power source. If the power supply is not right or the wiring is not done correctly, it can result in flickering, early failure, or dangers. If you want to change your tube light fixtures or set up new ones in commercial or desk lamp fixtures, you should learn how to make this connection.
This article, which is part of a series meant to help you, will explain how to connect LED strip lights to a power supply. We’ll clear up any confusing terms, teach you how to calculate the power you need, help you choose the best switching power supply, and give you detailed instructions. Be ready to use your LED light strip with confidence in different places and for different lighting needs, from basic warm light in ceiling lamps to detailed designs that require a specific strip lighting brightness.
Understanding LED Strip & Power Supply Basics
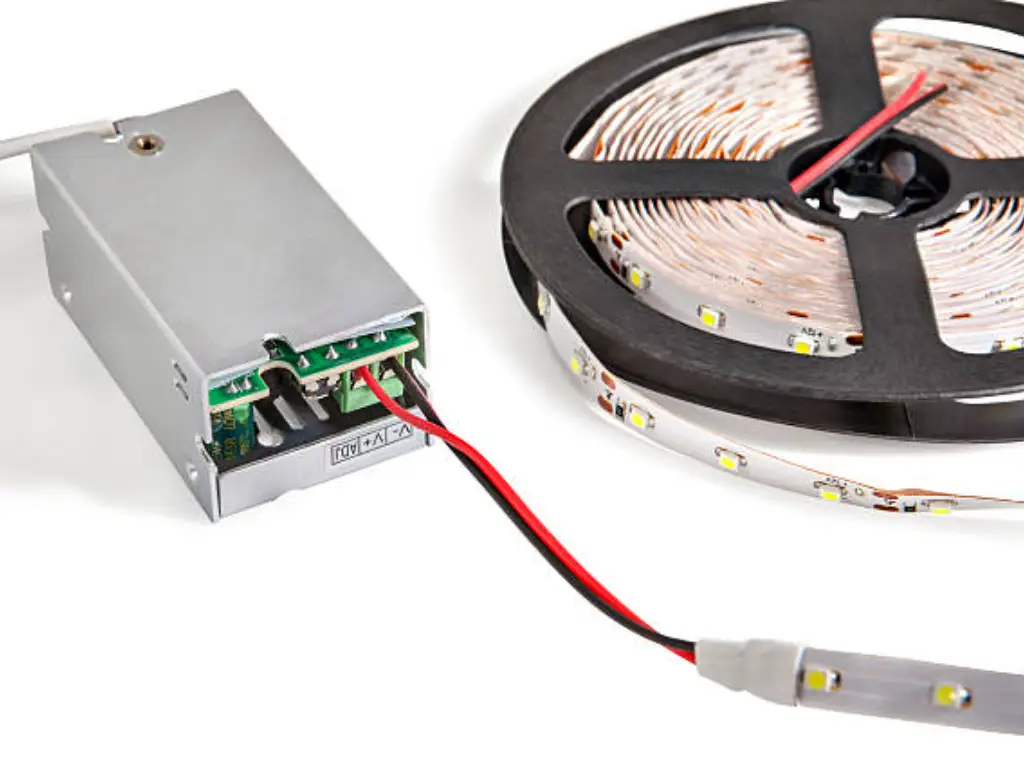
An LED strip light is powered by a low-voltage direct current. Unlike the AC from your standard outlets, LEDs require a constant and one-way current. Here, the switching power supply is used. It is responsible for changing the high voltage AC from your mains into the low voltage dc that your flexible circuitboard LEDs need. Consider it as a way to change electricity into something useful.
It is very important to know basic electrical terms, especially when it comes to checking if LED strip light system components are compatible.:
- Voltage (V): Voltage (V) is the electrical force that drives current. LED strips are most often designed to work with 12V DC or 24V DC power. The voltage produced by the led driver should be the same as what your LED strip needs. Supplying a 24V power to a 12V strip is similar to pouring water from a fire hose into a small cup – it will quickly damage the bright leds.
- Current (A): The movement of electricity. LED tape uses a particular amount of current.
- Power (W): Is measured by multiplying voltage (V) by current (A). It is the amount of energy that the led light strip uses and the led transformer provides.
The led power supply should supply the right voltage and enough current to support the led strip light system. If the led driver is too small, it will not work well and may fail early, but if it is too large, it might be a waste of money and prevent you from using more LED strips in the future.

Calculating Your LED Power Needs Accurately
Underestimating power requirements is a common pitfall in LED strip light systems installations. To ensure your LEDs shine brightly and consistently, accurately calculate the total wattage for your setup. This is straightforward for all form factors of LED strips:
- Find the Wattage Per Meter (or Foot): Check product specs (e.g., 4.8W/m or 14.4W/m for an led light strip).
- Determine Total Length: Measure all LED tape you intend to power from one supply.
- Calculate Minimum Wattage: Multiply wattage per unit length by total length.
- Formula: Total Wattage (W) = Wattage per unit length (W/m or W/ft) x Total Length (m or ft)
- Example for 12V/24V LED lights:
- 12V LED strip at 9.6W/meter for 5 meters: 9.6W/m * 5m = 48W
- 24V LED strip at 14.4W/meter for 8 meters: 14.4W/m * 8m = 115.2W
- Add a 20% Safety Margin: Crucial for efficiency and longevity. Choose an led driver with at least 20% more wattage than calculated. This buffer accounts for fluctuations and ensures the led power supply operates comfortably, reducing heat and extending its lifespan.
- 12V example: 48W * 1.20 = 57.6W. Aim for at least a 60W led transformer.
- 24V example: 115.2W * 1.20 = 138.24W. Aim for a 150W led power supply or higher.
Choosing the Right Switch Mode Power Supply
Selecting the appropriate switching power supply is fundamental for your LED strip’s performance and safety across various lighting applications.
- Voltage Output (V DC): The voltage output (V DC) should be the same as your LED strip’s voltage (either 12V or 24V).
- Wattage Capacity (W): Choose an led power supply that has enough wattage, according to your calculations plus a 20% safety margin. Always go for an led driver that has a higher wattage.
- Safety Certifications (UL, CE, RoHS): Opt for led transformers with recognized certifications for safety and compliance.
- IP Protection Rating (IPXX): For wet or dusty places, the led power supply should have a suitable IP rating (for example, IP20 for dry indoor and IP65+ for outdoor).
- Efficiency: A high-efficiency led driver ensures that more AC power is turned into DC, which saves energy and helps the led power supply last longer by reducing heat. Make sure the ratings are high for major cuts in operating expenses.
Why OMCH Power Supplies?
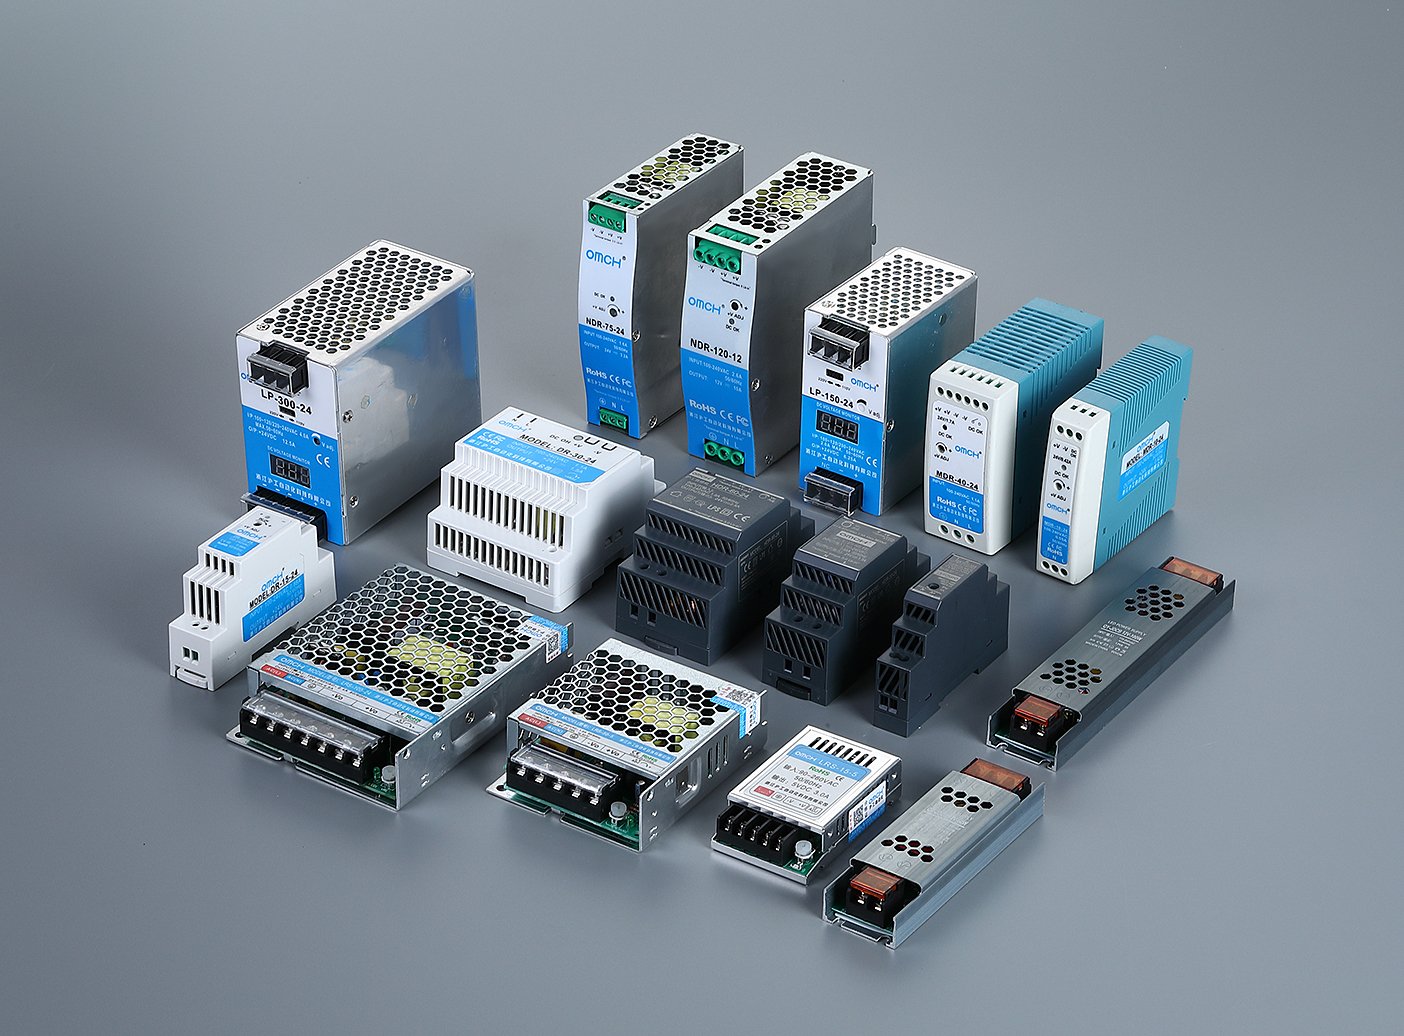
If you want a switch mode power supply that is reliable, efficient, and safe, look at OMCH. Being a leading switching power supply supplier, we are aware of the specific needs of today’s LED lighting systems. OMCH products make your LED tape lighting experience better.
- High Efficiency: OMCH drivers are designed to use less energy, which results in lower costs and a steady system. It stops the heat from building up and the power supply from wearing out.
- Diverse Models: From compact 12V units to robust 24V supplies for extensive commercial fixtures or various lighting applications, OMCH offers a comprehensive range for all power requirements and form factors.
- Comprehensive Safety Certifications: All our led transformers are rigorously tested and carry essential safety certifications (UL, CE), providing confidence in their compliance.
- Superior Thermal Management: Effective heat dissipation is crucial. OMCH designs ensure stable performance even under sustained load, extending the led power supply’s longevity.
Managing heat effectively is very important. The OMCH designs make sure the led power supply keeps performing well even when it is used for a long time.
Step-by-Step Connection Guide: Simple & Safe
After getting the LED strip and its power supply, connecting them is an easy process. It is very important to check your work twice before moving on.
Before You Start: Safety First!
- Disconnect Power: Disconnecting the power is very important. Either remove the led power supply from the wall or switch off the circuit breaker for the line voltage source. Always avoid working with live wires.
- Gather Your Tools: Wire strippers, small screwdrivers, a multimeter (if you have one), and the right connectors.

The Connection Steps:
- Prepare the LED Strip Wires: If the LED tape has bare wires, remove about 1/4-1/2 inch of its insulation. For RGB/RGBW, you should find several wires (Red, Green, Blue, White, and common positive). Usually, a single color light strip has just two wires.
- Identify Polarity: Both LED strip and led power supply include (+) and (-) terminals. LED strips have copper pads that indicate this, and led drivers have output terminals.
- Crucial Tip: Reversing the polarity of the power supply can make the light strip or led driver fail. Always try to match positive thoughts with positive thoughts, and negative thoughts with negative thoughts.
- Connect Wires to Power Supply Output:
- Screw Terminal Power Supplies: Loosen the screws that secure the output input terminals on the led power supply. Insert the positive red wire from the LED strip into the (+) terminal, and the negative wire into the (-) terminal.
- DC Jack Power Supplies: If the LED tape has a female DC jack and the transformer has a male plug, just insert the male plug into the jack. Usually used in basic light strip installations.
- Pigtail/Bare Wire Power Supplies: Join led power supply wires (red wire for positive) to LED strip’s wires using:
- Solderless connectors: Quick, solder-free joining of led tape segments or wires. Open clip, insert flexible circuitboard or wires, close clip. Useful in wider openings.
- Soldering: Most secure, low-resistance connection. Heat, apply solder, join wires. Insulate with heat shrink.
- Insulate All Connections: All exposed wires and connections should be covered with electrical tape, heat shrink, or put inside terminal blocks/junction boxes to avoid short circuits and shocks.
- Test Your Setup: Make sure to insulate every connection securely. Insert the ac power plug into the wall outlet. The LED light strip should be turned on. If this is not the case, unplug the appliance and check the connections again for polarity and how tight they are.
Meticulously following these steps ensures a safe, efficient, and lasting connection for your light strip, whether single color or complex.
Optimizing Long LED Runs: Power Injection

LED strips cannot be too long because of the issue of voltage drop. The compatibility and resistance in the flexible circuitboard of the LED strip help to reduce the voltage. As a result, LED tape starts to dim or change color at the end, just like a garden hose that loses its pressure.
The answer is to use power injection. You can supply power to the LED strip at several points, not only at the start. As a result, the circuit is shorter, so there is less voltage drop and the lighting system remains bright and uniform.
When to Consider Power Injection:
- Longer Runs: For 12V LED strips that are 5-7 meters (16-23 feet) or longer, or 24V strips that are 10-15 meters (33-49 feet) or longer, especially if they are high-density, a longer run is usually needed.
- High-Density Strips: More bright led emitters in a meter make the strip more likely to experience voltage drops.
- Visible Dimming/Color Shift: If the LED tape dims or changes color when it is far from the led power supply, you should use power injection. Needed for reliable warm light or for producing a single color with strong saturation.
How to Implement Power Injection:
- Identify Injection Points: Usually, you should inject the light at the end of the strip or at regular intervals (for example, every 5 meters) for long runs. For single color runs, you usually only need to connect the beginning and the end.
- Run Additional Wires: Connect the extra (+) and (-) terminals on your LED tape to the main led driver using wires that are the right size.
- Connect to Power Supply: These wires should be connected to the same output terminals on your single led transformer. You are not connecting several led power supplies, but you are using several points from a single led power supply.
- Consider Amplifiers (for RGB/RGBW): When using colored LED strips with controllers, add signal amplifiers and power injection to get the best results. The amplifier copies the signal, and a different power feed (from the main led power supply) provides current to that part of the led tape.
Strategically injecting power distributes the current load evenly, maintaining optimal voltage. This is key to achieving truly efficient and stunning led light strip systems installations, eliminating voltage drop.
Troubleshooting Common LED Power Issues
Even with careful planning, issues can arise. Knowing how to troubleshoot common problems related to your LED strip and led power supply connection saves time and frustration. Here’s a quick guide to diagnosing and resolving typical issues, covering common mistakes people make:
| Problem Symptom | Possible Causes | Solutions |
| LED strip doesn’t light up. | 1.Led power supply unplugged/off. | 1. Check ac power plug and switch. |
| 2. Incorrect voltage (e.g., 12V light strip with 24V supply). | 2. Verify LED strip and led driver voltage match. Replace mismatched component. | |
| 3. Reversed polarity (red wire / black swapped). | 3. Disconnect power, check and correct positive/negative connections. | |
| 4. Loose or broken connection. | 4. Disconnect power, re-secure all wire connections (screw terminals, solder, solderless connectors). | |
| 5.Led transformer failure. | 5. Test led power supply output with a multimeter. Replace if no output. | |
| LEDs are dim/flickering. | 1. Insufficient led power supply wattage. | 1. Recalculate total wattage. Replace led driver with a higher capacity unit (20% safety margin). |
| 2. Voltage drop over long run. | 2. Implement power injection (see previous section). | |
| 3. Loose connections. | 3. Check and tighten all wiring connections. | |
| 4. Faulty LED tape section. | 4. Test different sections of the strip. Cut out and replace faulty segment if possible. | |
| LED strip is bright at one end, dim at the other. | 1. Significant voltage drop on long runs. | 1. Implement power injection. Consider 24V light strip for longer runs. |
| LED strip overheats. | 1. Over-voltage from led power supply. | 1. Verify led driver voltage matches LED tape. Replace if incorrect. |
| 2. Excessive current draw. | 2. Ensure load matches expectations. (Not typical for pre-made strips). | |
| 3. Poor heat dissipation (e.g., led light strip not on aluminum channel profiles). | 3. Ensure proper mounting for heat dissipation. | |
| Only certain colors work (RGB/RGBW). | 1. Loose data/color red wire connection. | 1. Check individual color wire connections to controller/led driver. |
| 2. Faulty controller. | 2. Test/replace the LED controller. | |
| Power supply hums loudly. | 1. Overload (led transformer working too hard). | 1. Reduce LED load or replace led power supply with a higher wattage unit. |
| 2. Faulty led power supply. | 2. If load is appropriate, led transformer may be failing. Replace it. |
Always disconnect power before inspecting or fixing connections. A systematic approach helps resolve most issues, getting your LED light strip back to full brilliance. Avoiding these biggest mistakes will save headaches.
Safety First: Essential Precautions for LED Wiring

Ensuring safety is the most important thing when connecting LED strip lights to an LED power supply. A lack of simple safety steps can bring about damage, a fire, or an injury. Always be cautious when you connect an electrical device. It is much like building a house. A good foundation of safety prevents major issues from occurring.
Here are essential safety precautions:
- Always Disconnect Power: Disconnecting power is always very important. Before starting any work, make sure to turn off the ac power plug or unplug the led power supply.
- Match Voltage Precisely: Make sure the voltage of the LED tape (for example, 12V or 24V) is the same as the voltage output of the led driver. Damage and heat are often caused by using incompatible voltage. The electrical compatibility must be there without exception.
- Never Overload the Power Supply: Make sure the wattage of the led transformer is higher than the LED strip’s consumption by at least 20%. When the led power supply is overloaded, it can overheat, break down, and even cause a fire.
- Observe Polarity (+/-): Be sure to notice the polarity (+/-): It is very important. Make sure the red wire is connected to the positive terminal, and the black wire to the negative terminal. Reverse polarity does not damage a switching power supply, but it stops LED tape from working.
- Proper Insulation is Non-Negotiable: Exposed wires are shock/short hazards. Insulate all bare wires/connections with tape, heat shrink, or enclosures, especially around input terminals.
- Use Appropriate Wire Gauge: For longer or more powerful LED light strips, the wires from the driver to the strip should be thick enough. Voltage drop and overheating, which may lead to a fire, can happen when wires are too thin.
- Secure All Connections: Flickering, intermittence, and heat can happen if your connections are not secure. Secure every screw terminal and make sure all solderless connectors are properly seated.
- Understand Your Environment (IP Rating): For areas that are wet or dusty, use led power supply and connections that have the correct IP rating.
- Fuses and Circuit Protection: For bigger setups, it’s a good idea to place fuses close to the led power supply. A fuse is designed to take the brunt of overcurrent and keep the led transformer and LED strips safe.
- Consult Local Electrical Codes: For permanent/hard-wired setups, comply with local codes. If unsure, consult a qualified electrician.
Prioritizing safety ensures efficiency and longevity of your LED light strip system, and more importantly, well-being. Safety is a prerequisite.
Future-Proofing Your LED Lighting System
Connecting your LED strips is just the start—but how you plan for tomorrow matters just as much as what you wire today. Think of your setup not as a fixed project, but as a flexible platform that can grow with your needs.
Here’s how professionals stay ahead:
- Leave Some Headroom: Choose a power supply that offers more than just a 20% buffer. If you may extend your strips later, that extra wattage saves you from costly replacements.
- Plan for Dimming: Want better control over brightness or ambiance? Make sure your power supply works with dimming systems like PWM or 0-10V. It’s a small choice now that adds big value later.
- Support Advanced LEDs: Addressable strips need precise, stable power. If effects or pixel-level control are on your radar, ensure your power supply handles both the LED load and controller demands.
- Smart Home Ready: If you’re considering automation, pick drivers and controllers compatible with smart ecosystems. Some power supplies even offer built-in smart features—no hubs required.
- Modular Wiring is Key: Use terminal blocks or solderless connectors. This makes future upgrades or troubleshooting simpler and cleaner—no messy rewiring.
- Stick to Standard Voltages: 12V and 24V remain the industry norms. Staying within these makes finding replacements and adding components much easier down the line.
- Think Fixture Flexibility: LED strips aren’t limited to one format. From linear fixtures to decorative lamps and even germicidal lighting, your system should adapt without needing a full redesign.
A future-proofed lighting system isn’t about overbuilding—it’s about building smart. With the right foundation today, you keep doors open for tomorrow—without pulling wires twice.